When you have a big number of Asparagus in your garden or pots, why don’t you think of seeking the steps on how to transplant asparagus?
Though it is considered difficult of transplanting the plants, but it worth it for the best growth from your plants.
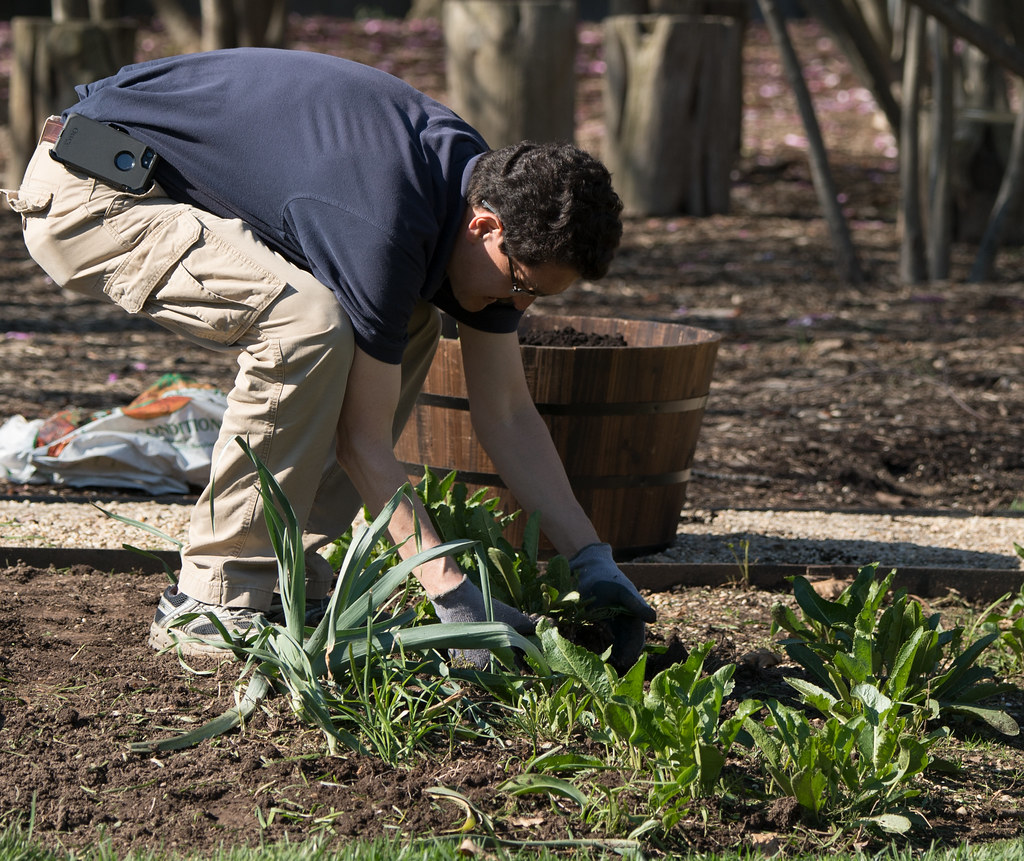
Basically, transplanting asparagus can be started when the crown is inactive. Generally, you can use a garden shovel to raise the plants’ roots.
This way, when you get under the root system, you can gently pull up until the plant is free.
Simply, transplanting asparagus can be done using your bare hands or a garden fork but pay attention not to cut the roots.
Then, you are just ready to plant it in a new location. Make sure the new area you choose is well-draining, plenty of sunlight and spacious to keep them healthy for at least two decades of growth.
Now if you want to have a complete review about how to transplant asparagus, keep on reading our article!
Why Do You Need To Transplant Asparagus?
Why do you need to transplant asparagus? That is the first question you may have on your mind when you have an idea for the plant transplantation.
This way, never leave your established asparagus behind if you want to move it into a new location.
More crucially, some gardeners decide on transplanting asparagus to a better area within their own garden since the plants grow and grow, making them need an extra space and care.
The new garden spot you may choose for your transplanted asparagus may not be the best one.
Just make sure that the spot has loose soil, plenty of sun and free of any disturbances from other gardening.
In this regards, experts suggest that you not transplant asparagus unless you need to.
When Do You Need To Transplant Asparagus?
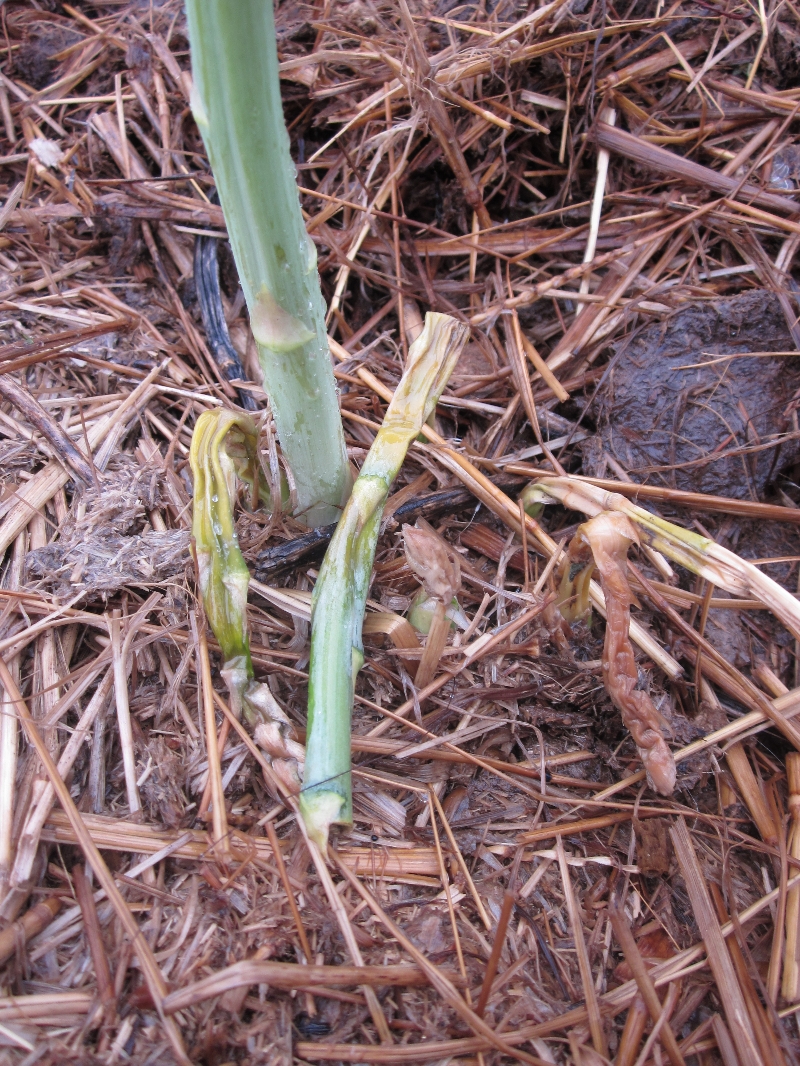
One thing to keep in mind is that you don’t need to transplant asparagus at random times through the year. The plants will actually be sleeping until spring.
Thus, it is better to transplant them during their sleeping times before their roots are sprouting again.
This is aimed to help you avoid the tangled root system that make your asparagus uneasy to transplant.
However, based on Mother Earth News recommendation, asparagus can be transplanted in the fall if it is right for you to take on a stronger root system.
Meanwhile, transplanting asparagus in the spring will not go on progress.
How To Transplant Asparagus Fern

Asparagus ferns has more common names that is Prostasparagus densiflorus and Prostaparagus setaceus.
These are the two species of perennial plants grown for their plumy fronds.
Many asparagus ferns have a lank, shabby looks. However, they must be separated to enhance the production of fuller foliage.
Generally, dividing and transplanting asparagus ferns process is considered very simple and highly effective though the process is better to do in the fall as the plants enter the sleeping phase.
Step by Step Guide Part 1
Here are the steps on how to transplant asparagus fern:
- Deeply water asparagus fern the night before you transplant the root divisions. The soil must be moist to a 4-inch depth to make sure that the roots are dehydrated. The soil must be loose(using soil mostuire meter).
- Measure out 4 inches around asparagus fern base. Dig down to 6 inches depth along 1-4 inch mark with a spade. Use the blade underneath the root ball and pry it loosely.
- Lift the asparagus fern out of the soil and fill in the left hole. Water over the root ball while crumbling away the soil around. This way, you must keep rinsing and removing the soil until the roots are clearly seen.
- Collect the fronds into three or four with the same portions. Use the twist ties or string to secure them and keep them out of the way. Make sure that each frond portion is above a section of the root ball with the abundance roots.
Until this step make sure everything is fine. Breath in, breath out.
Step by Step Guide Part 2
- Locate the blade of a gardening knife between the frond portions. Divide the roots into the same portions by cutting down through the root ball. Make sure that each division has similar amount of roots.
- Move asparagus fern divisions to their new transplant area soon or you may wrap them in a moist towel so that the roots are still hydrating while preparing the movement.
- Transplant the asparagus fern divisions into your garden bed along with the equal conditions due to the fact that the parent plants are filled with the standard potting soil. This way, the fronds base is slightly above the soil surface.
- Water asparagus fern divisions to a 3-inch depth soon after transplanting them. Keep watering only when the soil (2 inches above) is barely moist. If you are growing them outdoors, it is recommended that you grow them outdoors.
How To Transplant Asparagus Pots
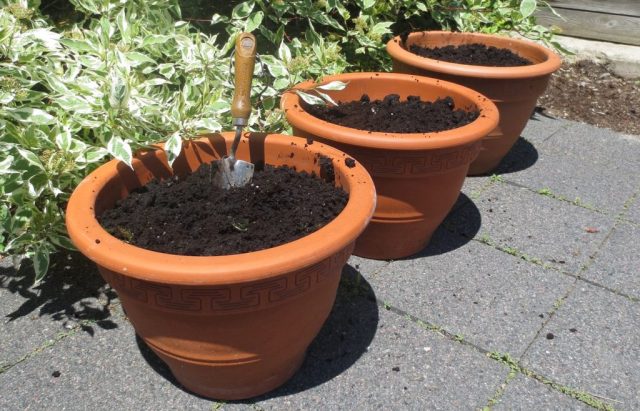
Having a limited space outdoors doesn’t mean that you cannot grow your wanted plants. Alternatively, you can still plant them in a pot or container.
It is just another option you can take no matter you do gardening on a small apartment balcony or simply not in the position to grow them long term perennials.
Thus, we can have container fern.
Step by Step Transplant Asparagus in A Pot
Asparagus plants are growing slowly compared to the other kitchen garden plants. Here are the steps how to transplant asparagus in a pot or container:
- When the spring start early, select a large pot or container which may be at least 18 inches deep and 12 inches across. This way, planting asparagus in a pot must be deeper.
- Make a drainage holes in the bottom of the pot if there aren’t any. While most pots are usually already having drainage, most of the gardeners tend to add traditional drainage holes to pot. This is aimed to prevent the fungus and root growth.
- Fill the bottom 2 inches of the pot gravel and fill the remainder with a combination of high quality potting compost and soil.
- Plant asparagus crown into the pot based on the instruction stated on the package. Generally, the crown are planted about 4 to 6 inches deep.
- Water the soil and the planted asparagus well in the pot.
- Place the pots outdoors in a bright location. This way, the plants must receive at least eight hours of sun light every day.
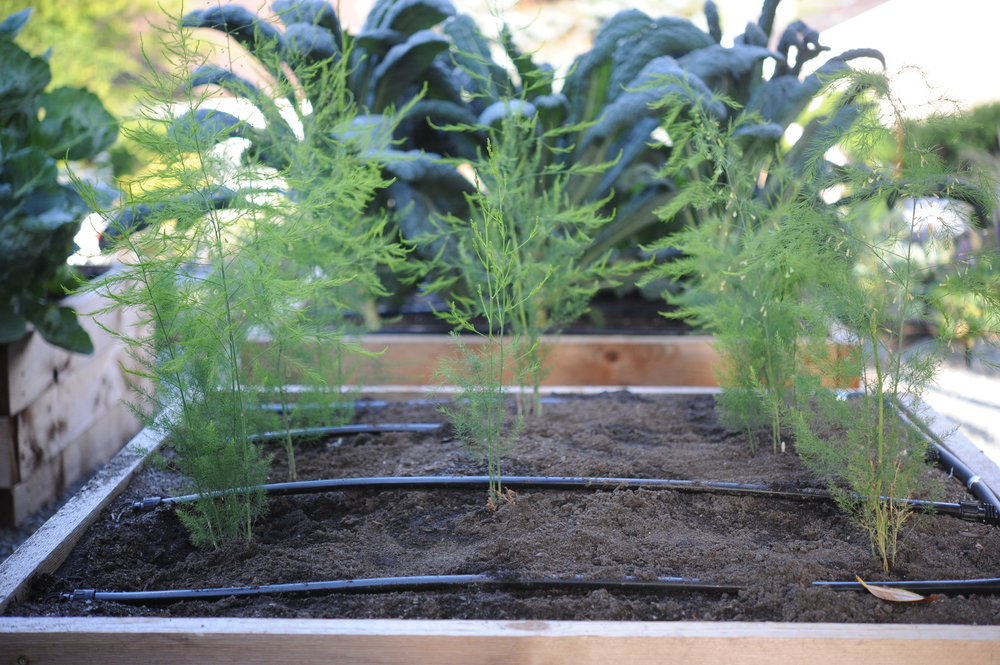
- After planting asparagus crown, shoots must be visible within seven days. Just allow the plants to grow and develop during the first two seasons. Don’t forget to keep soil moist.
- Due to the fact that perennials are hardy, leave the pots outdoors during the fall and the winter.
- Notice that the dormant plants will resume growth in the spring when the weather is going to warm up.
How To Transplant Asparagus Seedlings
Some gardeners do decide on finding the way on how to transplant asparagus seedlings though it is an exercise in patience. However, it would be rewarding of all garden task.
Asparagus seeds are germinated slowly and the crowns need three seasons before anyone can harvest them.
Again, planting asparagus need a big patience since it is moderately difficult. Cool season needed but a full sun exposure is also a must.
The seeds are recommended to plant indoors during winter through spring under the bright light. Note, no harvesting from these long-lived perennials before 3 years after the transplanting.
The temperature you must set for seed germination is 21-30 degree Celsius. So, being patience is all everyone need to transplant asparagus from the seeds.
Step By Step to Transplant Asparagus
However, if you are eager to do garden asparagus seedlings, here are the steps to follow carefully:
- Soak the seed for two hours.
- Plant 1 seed per 5 cm pot and 1 cm deep. Keep it in a warm area.
- Wait for 2 to 8 weeks to sprout depending on your soil temperature. So be patient, again.
- When the seedling are 10 to 12 weeks old, transplant them. Make space of 45 cm apart in rows and 1-2m apart.
- Transplant each plant in a hole 10cm deep and cover the crown gradually with the soil as it grows.
- For thicker spears, provide space 30-35cm apart and set buds 15-20cm in the hole.
- For thinner spears, provide space 20-25cm with the buds 10cm deep.
- Give fertilizer per 3m of row. Do it lightly.
- Water the asparagus seedlings about 2cm of water every week.
- In the late fall, trim the ferns down to 5cm and dispose of cuttings. This is aimed to avoid the future disease and insect problem.
In growing asparagus from seeds, it is recommended that you not harvest asparagus until the third years. This is because the plants need establishing.
Ensure that they are enough established and strong. When you see the thinner spears start emerging, let them to grow into a large fronds to nourish the roots.
Along with this excessive year, the harvest can lengthen to a maximum of 6-8 weeks.
And you can store them in a refrigerator but make sure you wrap it in a damp paper towel.
Dealing with the seed information, the seed will enter the phase of germination in an optimum condition which is at least 75%. The usual seed life is generally 2 years.
Diseases and Pest to Know When Planting Asparagus
There is no guarantee that asparagus can be free from any diseases and pest. All plants experiences of being attacked by diseases and pest.
This way, rust, fusarium wilt and fusarium stem as well as crown rot can be all the problems.
There is no history that planting asparagus along with the sterile soil will keep the plants healthy.
The ferns can be foliated by the asparagus beetles. These beetles are usually overwintering in the top growth.
So, the thing you can try to cope it is removing of the fronds in the fall after they died.
It is considered vital to do that. Yes, you must simply pick up any voracious insect from your asparagus.
Ladybugs are actually beneficial to encourage. They will help reduce aphids which are generally found together on growing tips.
Companion Planting
Planting a kind of plant need generally a companion plant. This is how we talk about companion planting, meaning that you need to plant another kind of plants to accompany your asparagus.
In this case, companion planting is a cornerstone of organic gardening.
Basically, companion planting is aimed to reduce the need and the use of pesticides. Even the wild plant need companion plant to grow along with.
Now if you are planning to grow asparagus in your outdoor or indoor garden, you can also plant aster, basil, cilantro, dill, marigold, oregano, nasturtiums, parsley, sage, peppers and thyme.
Asparagus repels nematodes that usually attack tomatoes while the tomatoes will be able to attack asparagus beetles.
Health Benefits of Asparagus
One of the reason why some gardeners tend to plant asparagus in their garden though it needs years to harvest is the health benefits that asparagus offer.
As a kind of vegetable, asparagus comes in a variety of colors including green, purple and white. This vegetable is mostly used for dishes around the world including pastas, fritatas and stir-fries.
Asparagus is low in calories and offering essential vitamins, antioxidants and minerals.
If you cook 90 grams of cooked asparagus, you will get not only calories but also protein, fat, fiber, vitamin C, vitamin A, vitamin K, folate, potassium, phosphorous and Vitamin E.
Asparagus also processes a small amounts of some micronutrients such as iron, zinc and riboflavin.
The vitamin K is an essential nutrient for blood clotting and bone health.
In addition, high folate offered by asparagus is vital for healthy pregnancy, cell growth and DNA formation.
Conclusion
Now that you now all about how to transplant asparagus and other related information, make sure you are ready to plant this plant in your garden.
Though it takes 2 to 3 years of harvesting, the big benefits of asparagus will worth it.
This information was the best I’ve read on the internet so far.
Thanks for the good details