Knowing when to harvest corn is one of the most essential factors to know as a beginner. In fact, it is still going to be a quite complicated thing. As we know, corn can quickly ripen in a few days.
For a home gardener, watching for the signs is very important. In this article, we will focus on harvesting the corn and all the tips you need to succeed.
If you are a beginner in harvesting, you have come to the right place.
Types of Corn
First things first, you have to know there are 5 main types of corn that many gardeners choose to have on their farm.
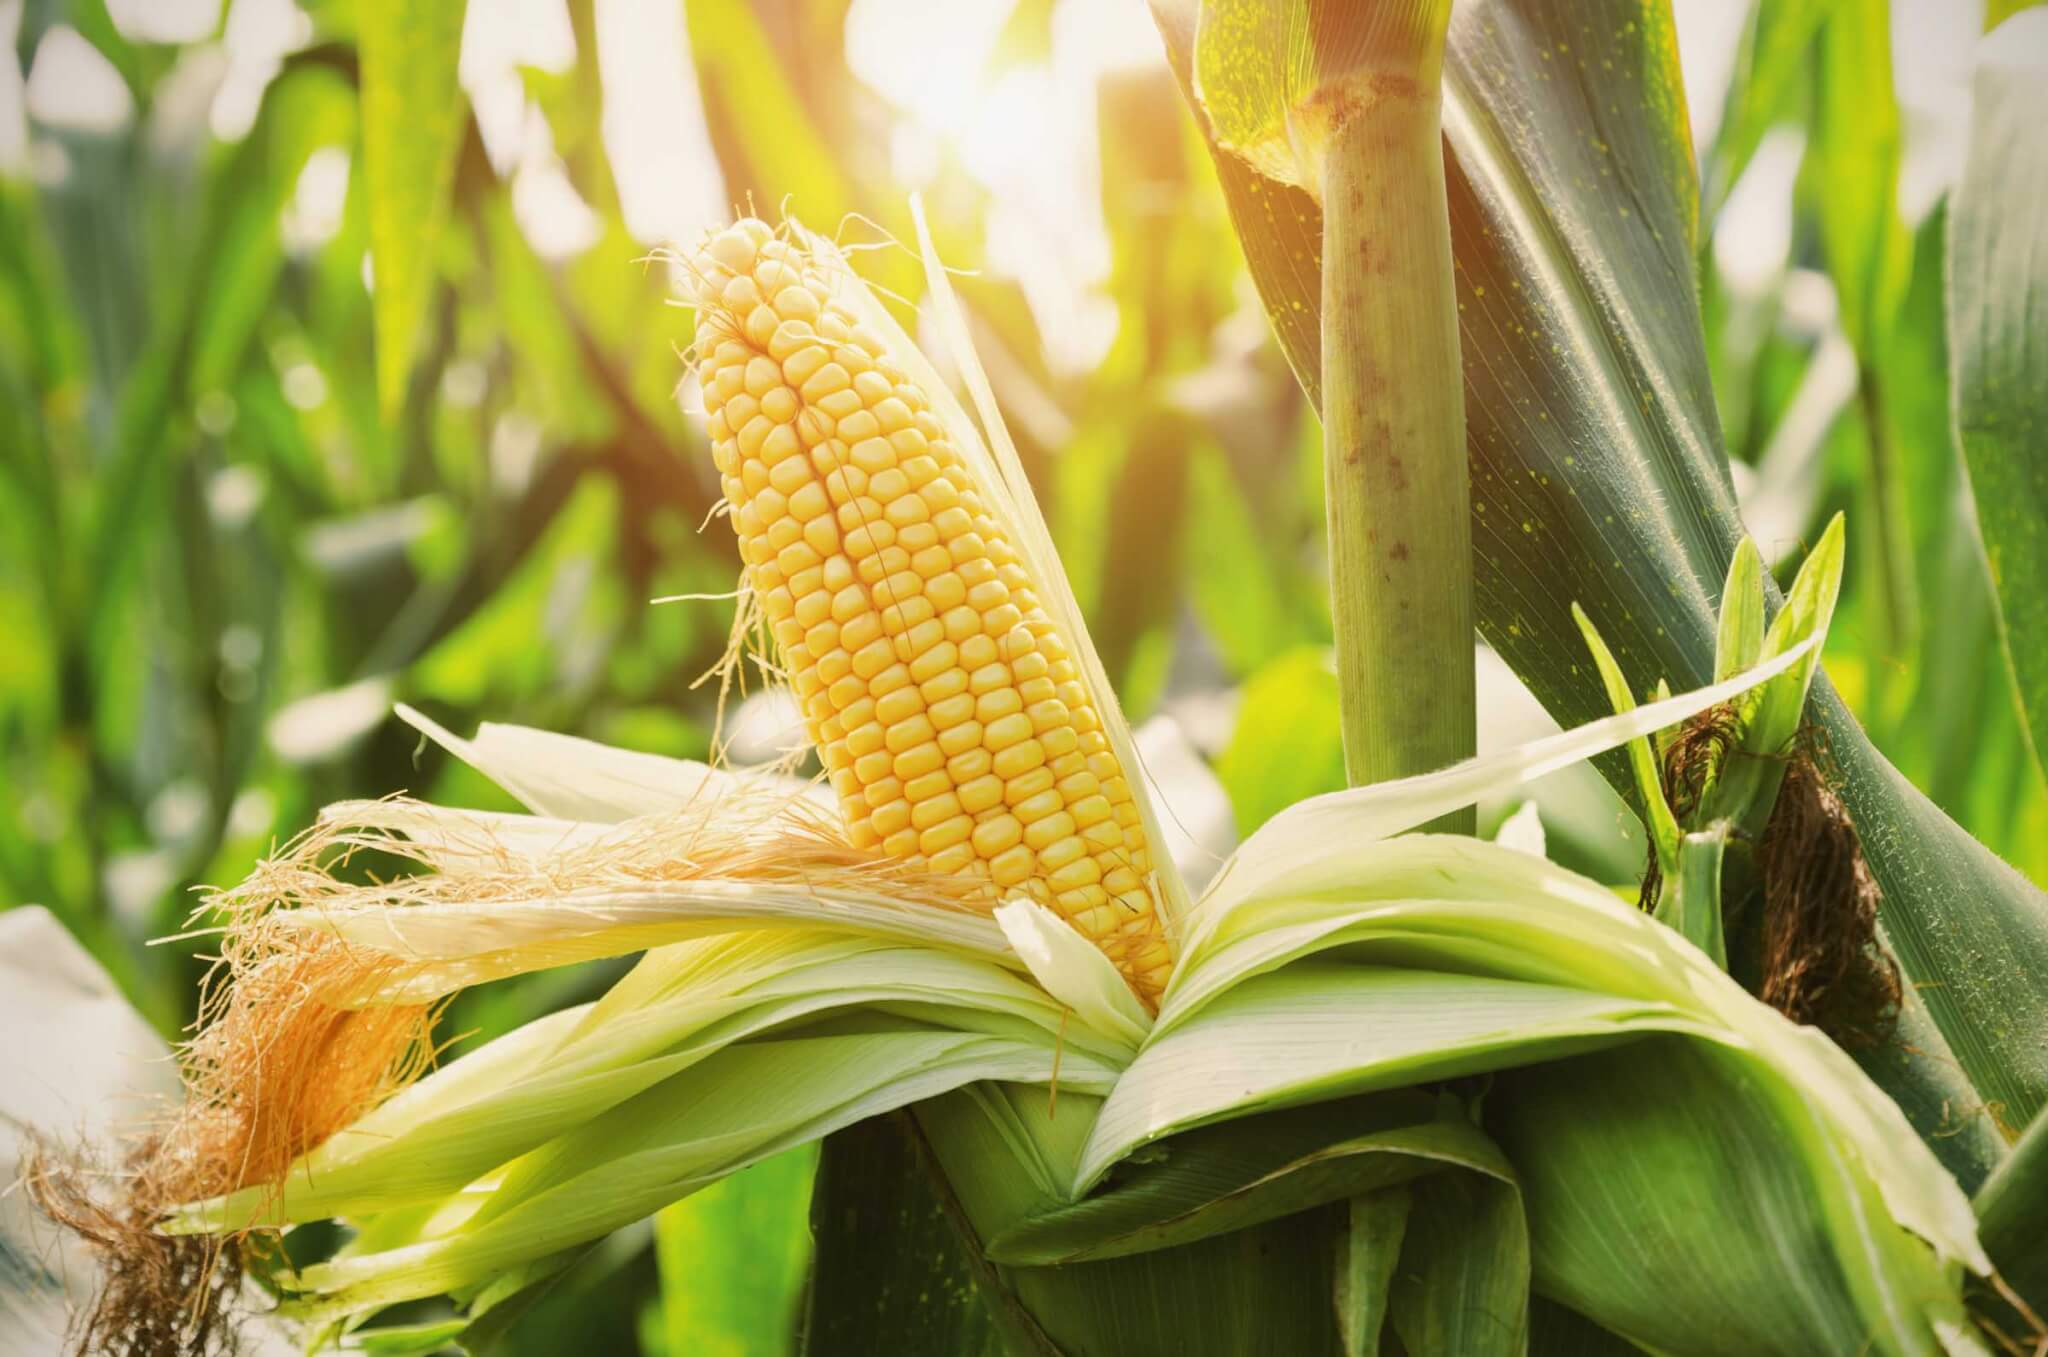
Sweet Corn
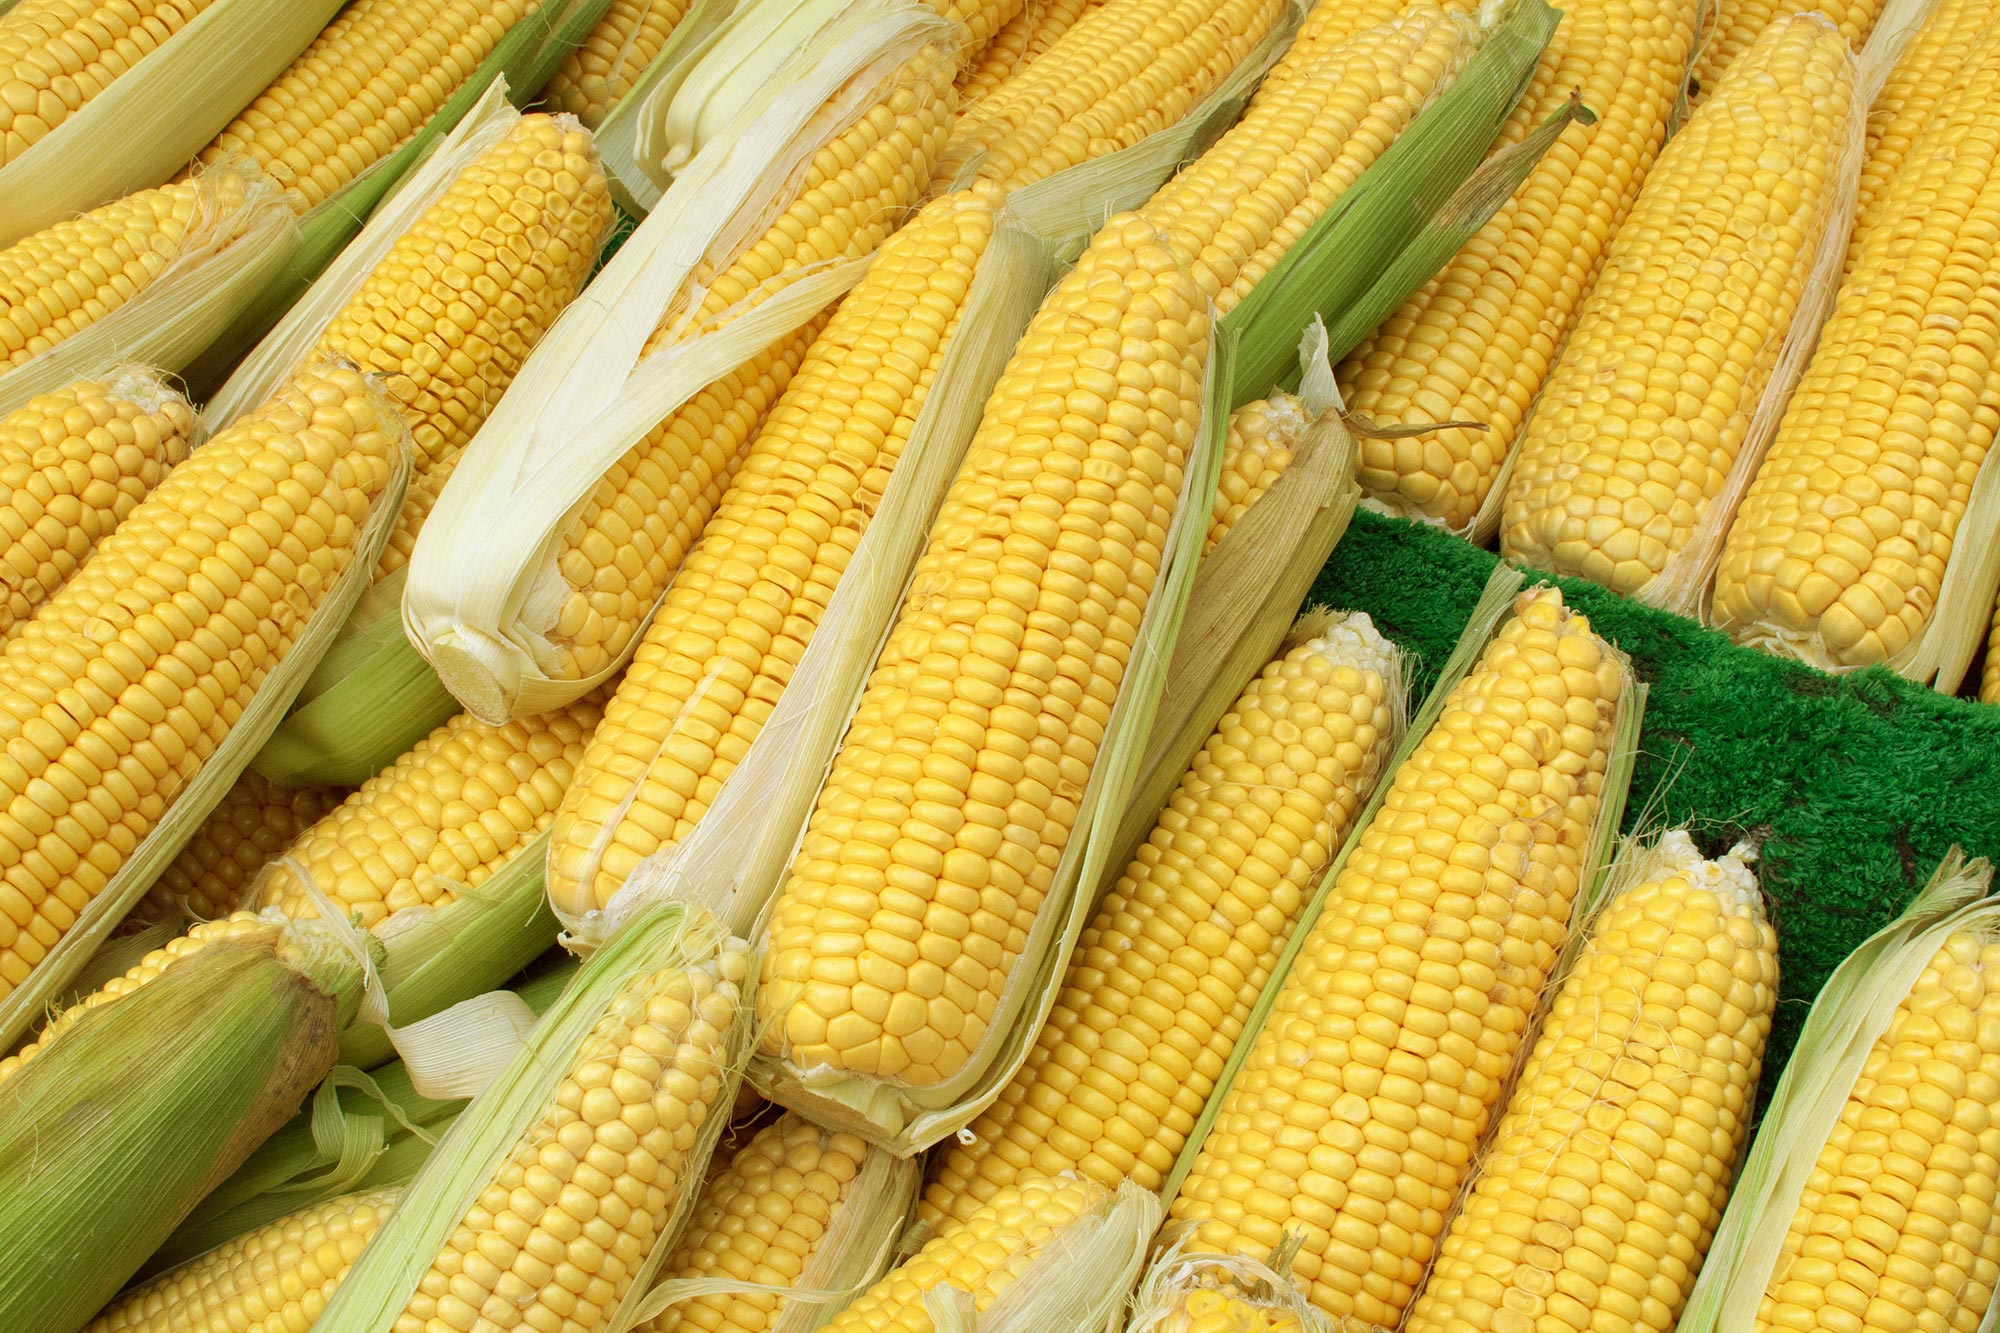
This is the most familiar type of corn and the best choice for the home kitchen. It is originated from genetic mutations of flour and flint corns.
When the corn reaches the milk stage, it would taste mildly sweet but chewy and tasty.
Sweet Corn is an ideal choice if you prefer fresh eating when it is in the green or milk stage. Besides, you can roast the corns first. The grind-dried version can turn into delicious sweet cornmeal.
Dent or Field Corn
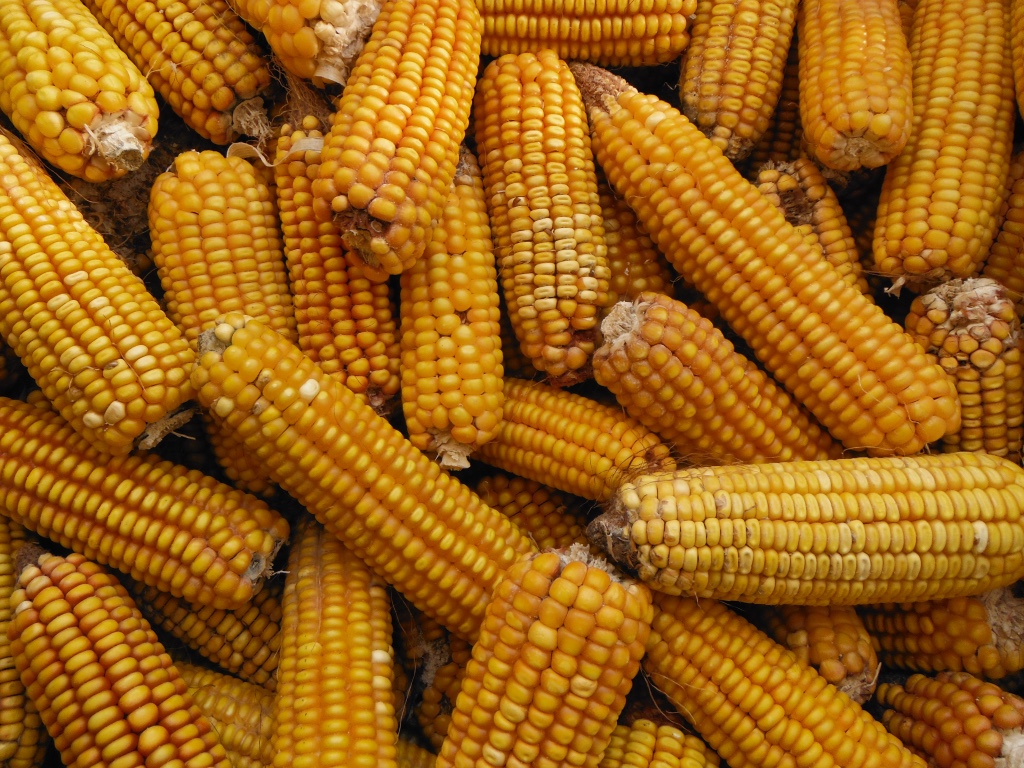
You can see the reason why it is named “Dent” corn while drying. There is a dented spot at top of the kernel.
It comes from the soft starch in the center that gets dried. This type of corn has tall, strong stalks because of its large and hefty form.
As known as the field corn, it becomes the variety that is raised commercially around the world including the US.
Primarily, they plant dent corn for livestock feed, food products, corn gluten meal, silage, plastics, ethanol, and high-fructose corn syrup.
Flour Corn
The main composition of flour corn is soft starch. That is why you can easily grind it into fine cornmeal.
Corns can grow up to 8-10 feet tall according to the variety. They grow well in drier areas with long and slender ears.
Flour corn has a subtle and delicate flavor and it has a bit of sweet taste too. Bread, tortillas, pinole, and tamales are the food products that use this type of corn as their main ingredients.
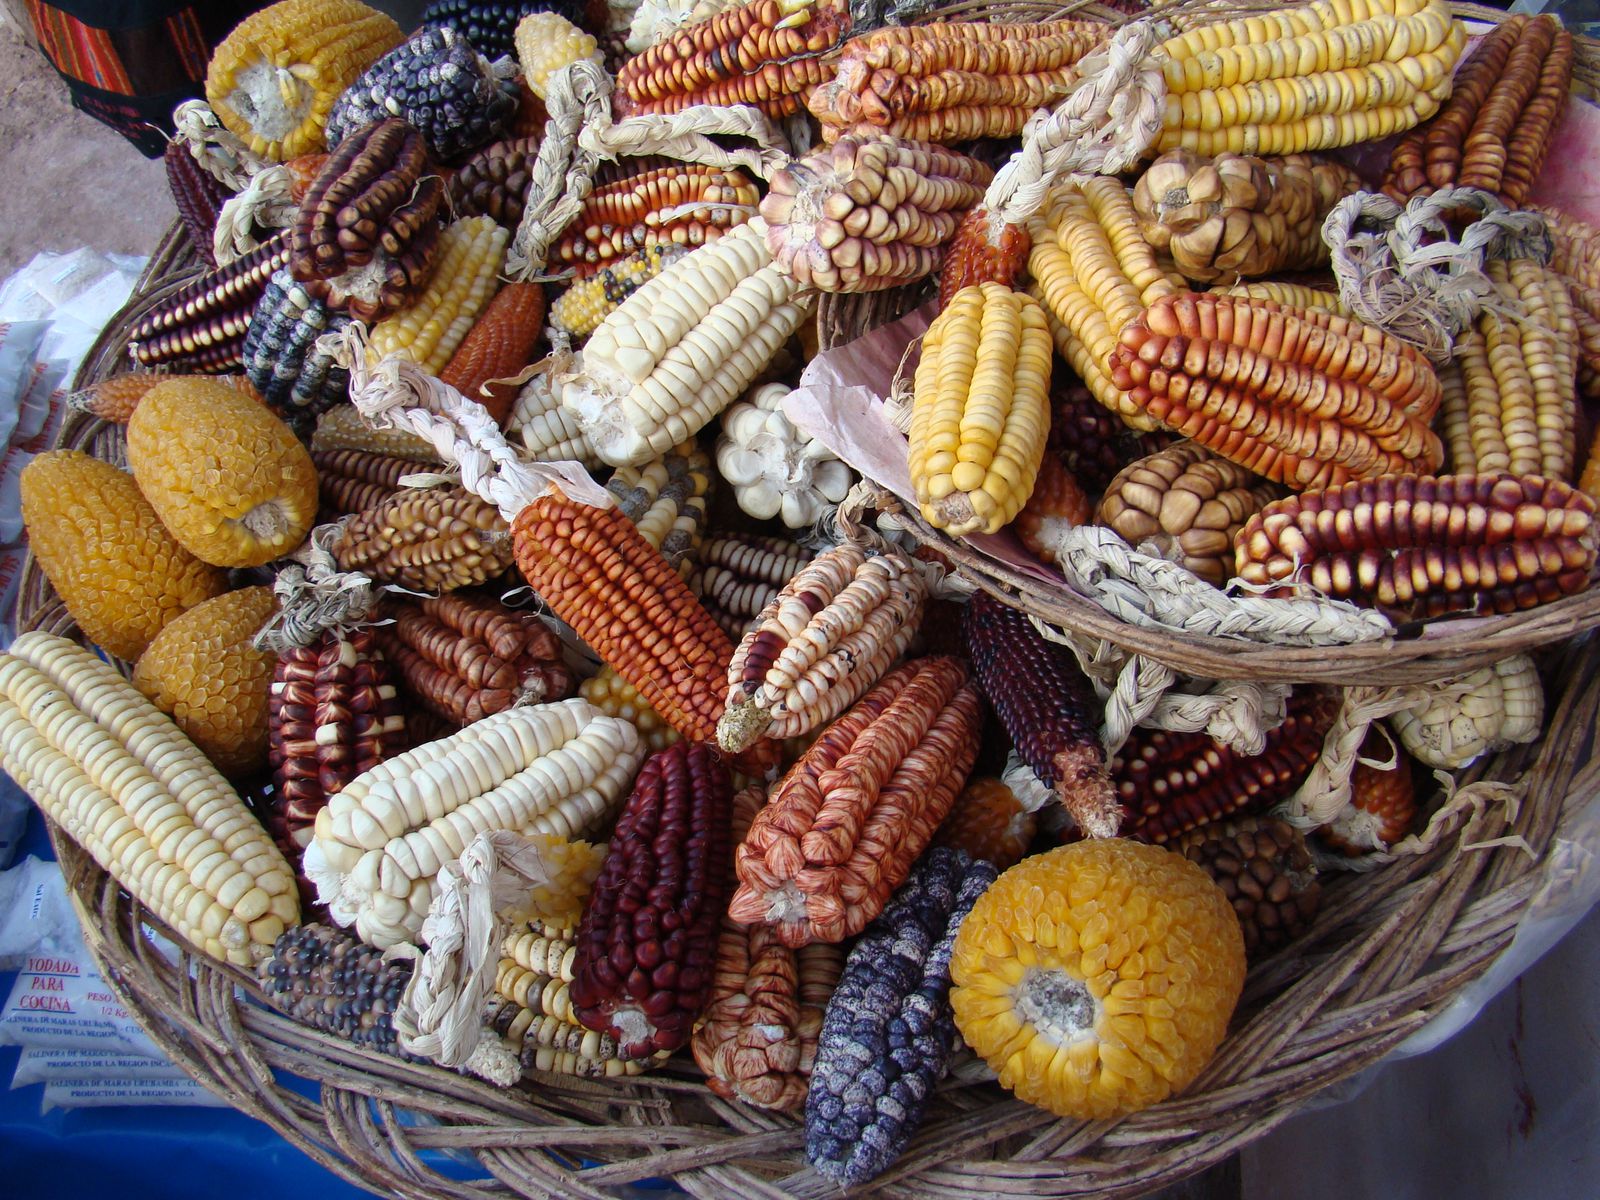
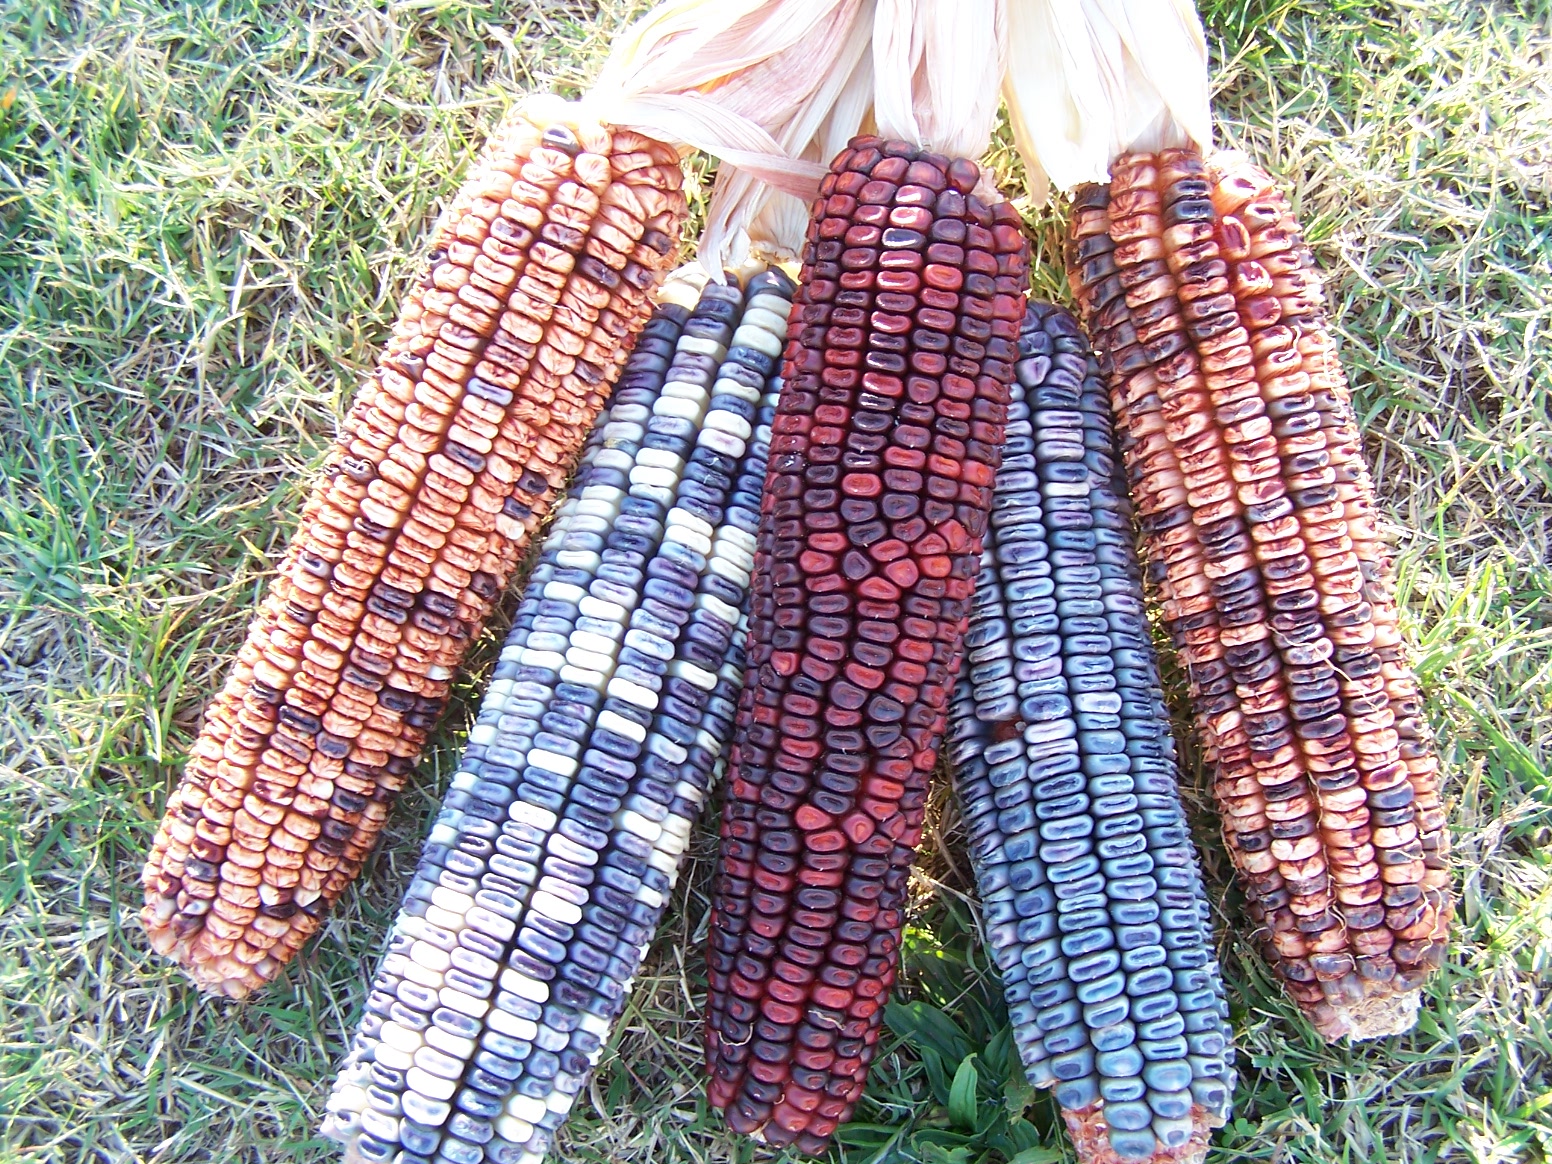
Flint Corn

This variety has a hard outer layer that covers the Endorpern inside the kernel. The hardness is just like flint.
That is why it is called that. You can see its glassy appearance and the range of colors that flint corn has.
The appearance looks so decorative which makes people miss out on the qualities of this corn variety. In fact, it packs a lot of flavors.
Additionally, it can also be nixtamalized and made into delicious food ingredients.
PopCorn
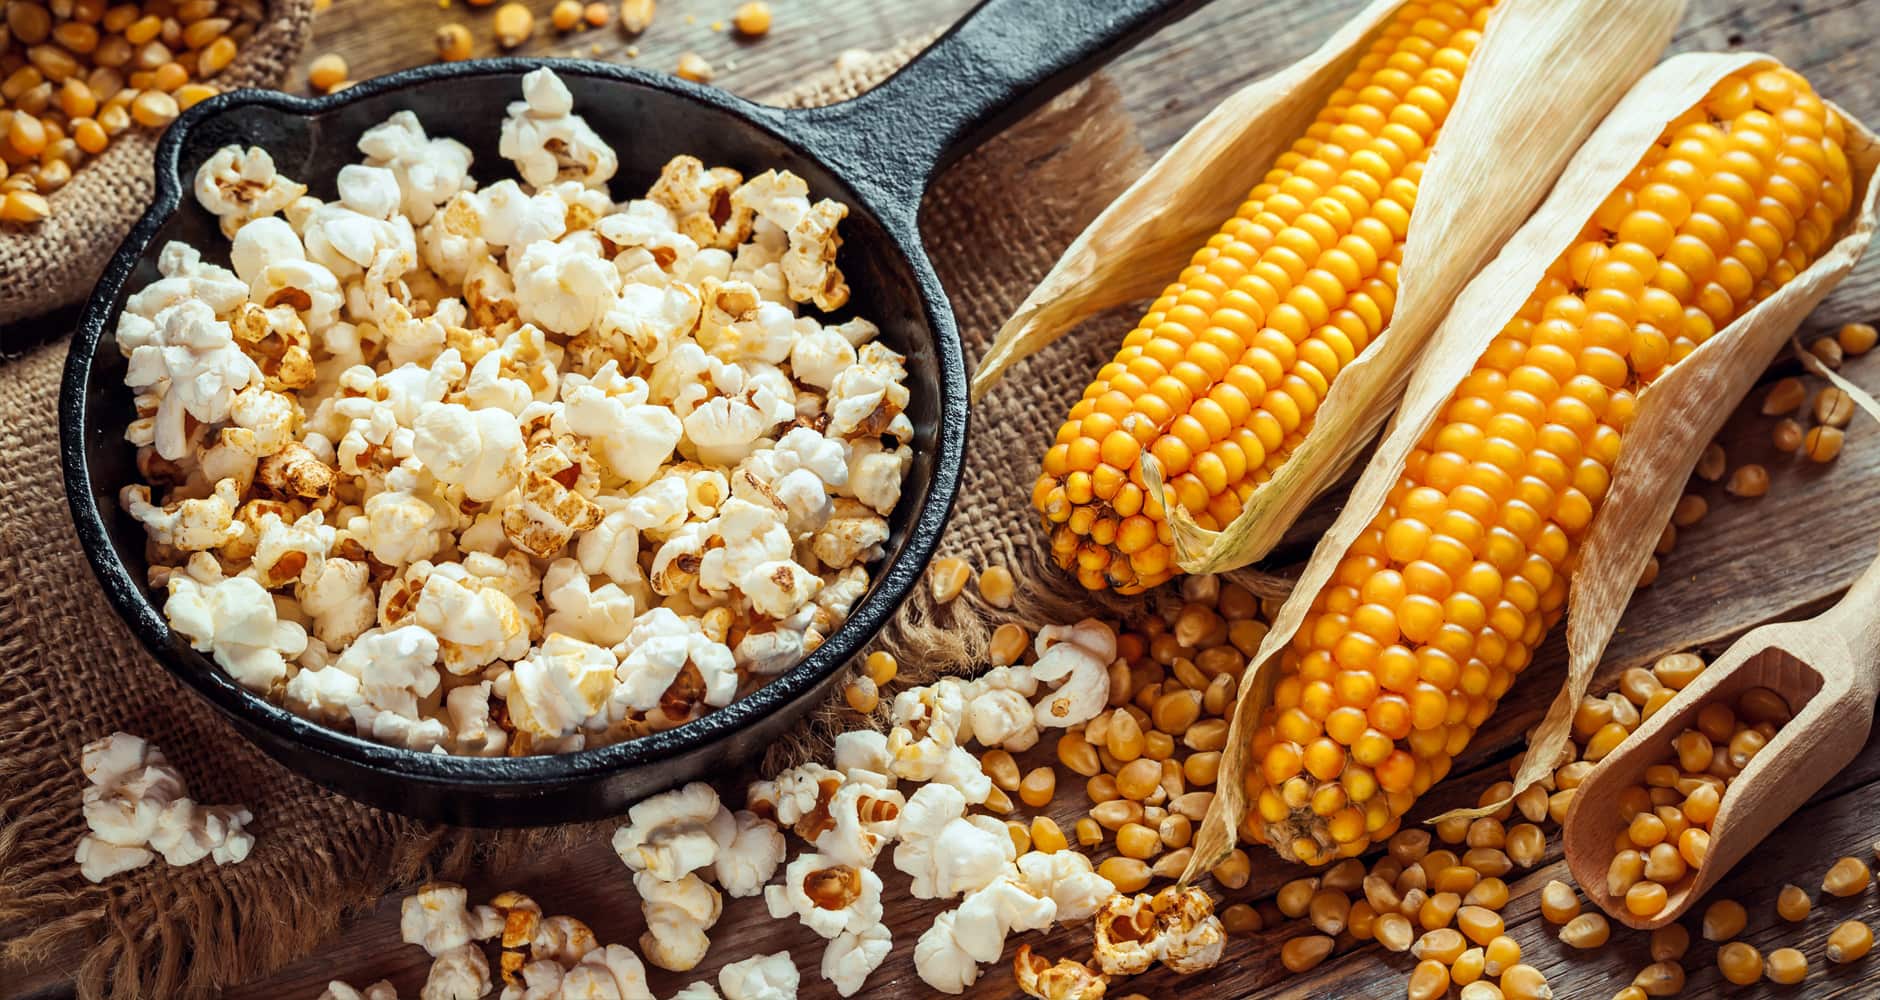
This type of corn is the oldest domesticated one. It looks similar to the flint corn based on its glassy appearance.
Popcorn has moisture inside the kernel that would turn steam when it gets heated. Then, it will explode the starch inside. As a result, the kernel would be inside out.
This variety becomes the familiar meal you would like to heat while watching movies. It is very approachable for beginners like you.
Growing Corn in Containers
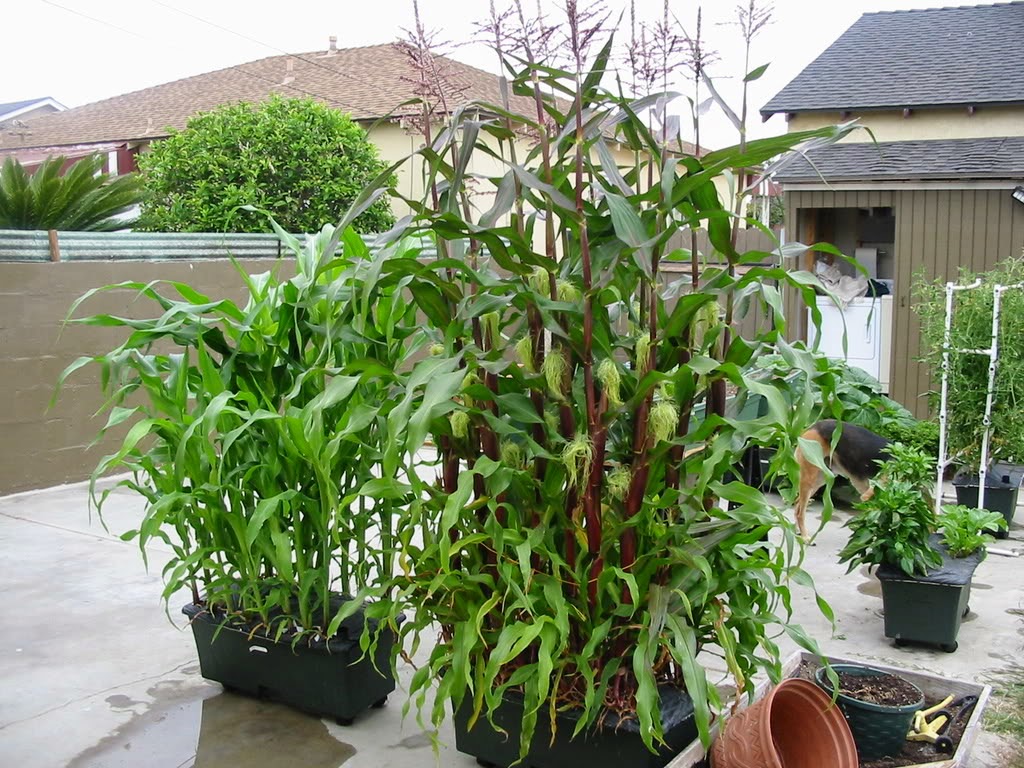
Many people choose to grow corn right on the soil of the garden or farm. They do not consider having it on containers.
Well, growing corn in containers does not mean that is not possible. Actually, it is only a matter of conditions and suitable pots.
Growing corns is not always about open fields. So, a very wide area is not necessary that you might envision.
It only needs a space that has a lot of sunlight, wind, and moist soil. In the growing season, fertilizer will be necessary.
Some people might pass this opportunity because of the difficulties. However, growing corn in containers is worth a shot.
It would be a fun experiment you can do with family and taste the homegrown sweet corn would be a lot more amazing.
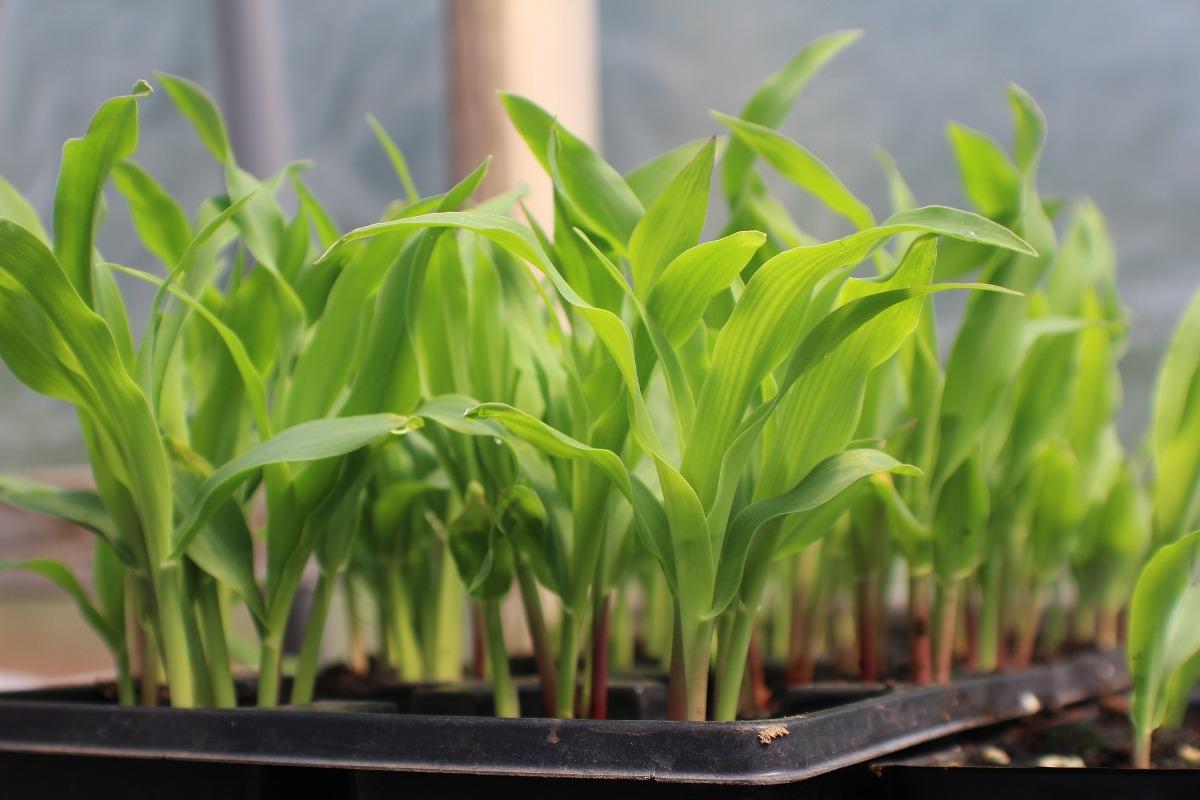
How to Plant Corn in Containers
There are some things you need to prepare before you begin the experiment. First, opt for the right variety of corn to grow in containers.
Sweet corn becomes the best choice since it is going to be homegrown. When harvest time comes, it becomes the ingredients for dinner.
As explained before, there are other choices of corn types, Popcorn, Flint Corn, Flour Corn, and Dent corn. Planting all types of containers is possible.
As we know, corn is a warm-weather crop. The container should be a large one that measures at least 12 inches wide and 12 inches deep. A larger pot will be better.
There are so many choices of pot types to choose from, such as clay or plastic pots, and the repurposed things like wooden crates, barrels, garbage cans, and many more.
Remember to prepare the drainage by making some holes. Place the containers in the proper spot with direct sun exposure. 6 to 8 hours a day is needed. What about the soil?
The most recommended one would be peat-based potting soil. It needs the one that retains moisture.
For germination, it would take about 10-14 days in cooler weather. However, corn can germinate early in hotter temperatures.
Ensuring that the seeds are well-watered is the key. Then, let the sun do the work.
How to Care Corn
Before learning about when to harvest corn, we need to know several things. After planting the seed successfully, you have to get the knowledge about the care.
If you grow your corn in a container in the backyard, here is everything to do.
First, water the corn every other day in order to make sure the soil has enough moisture every time. It is because this plant needs plenty of that to grow properly.
This method is the key element to grow delicious, soft, and sweet corn. Water becomes more important when it is fruiting time.
Fertilizer is also one of the important elements in growing corn. You need to pour it ten weeks after sowing the seeds.
Use about a half tablespoon of fertilizer in 5-10-10 or 10-20-20 for each plant. Before that, dig a small hole nearby the plant and then sprinkle it to mix with the soil.
Mulching is also a part of the process even though you are growing corn in a container. It is definitely a great idea to add mulch around the plant.
Holding in the moisture will be helpful. You can use newspapers, grass clippings, or wood chips. Everything is easy to find.
Common Pests and Diseases
Even though corn is a plant that is considered pest and disease-proof, that does not mean the variety is impossible to get such problems. Here are the common issues you may face;
– Corn Flea Beetles
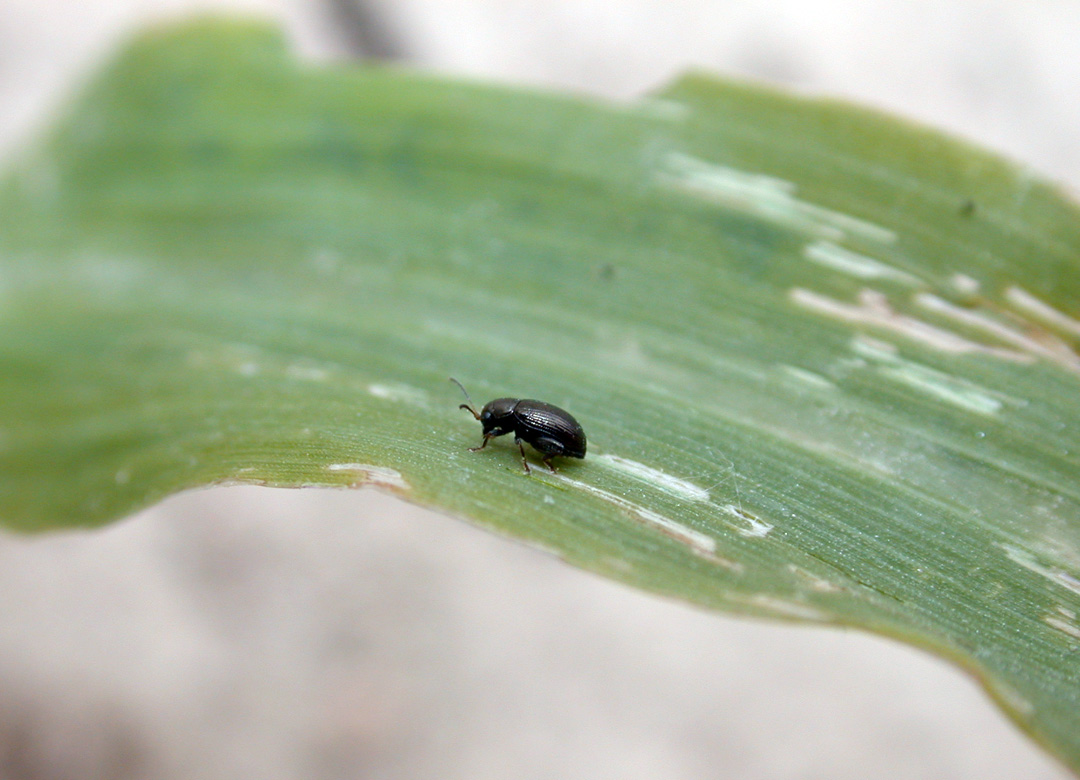
These types of beetles would disturb the corn plant during the spring season. The flea will infest the weeds around the plant.
When the beetles start to get more mature, they will move to the seedlings of the corn. When you see the infestation, make sure to have small, circulator holes on the leaves.
– Corn Leaf Aphids
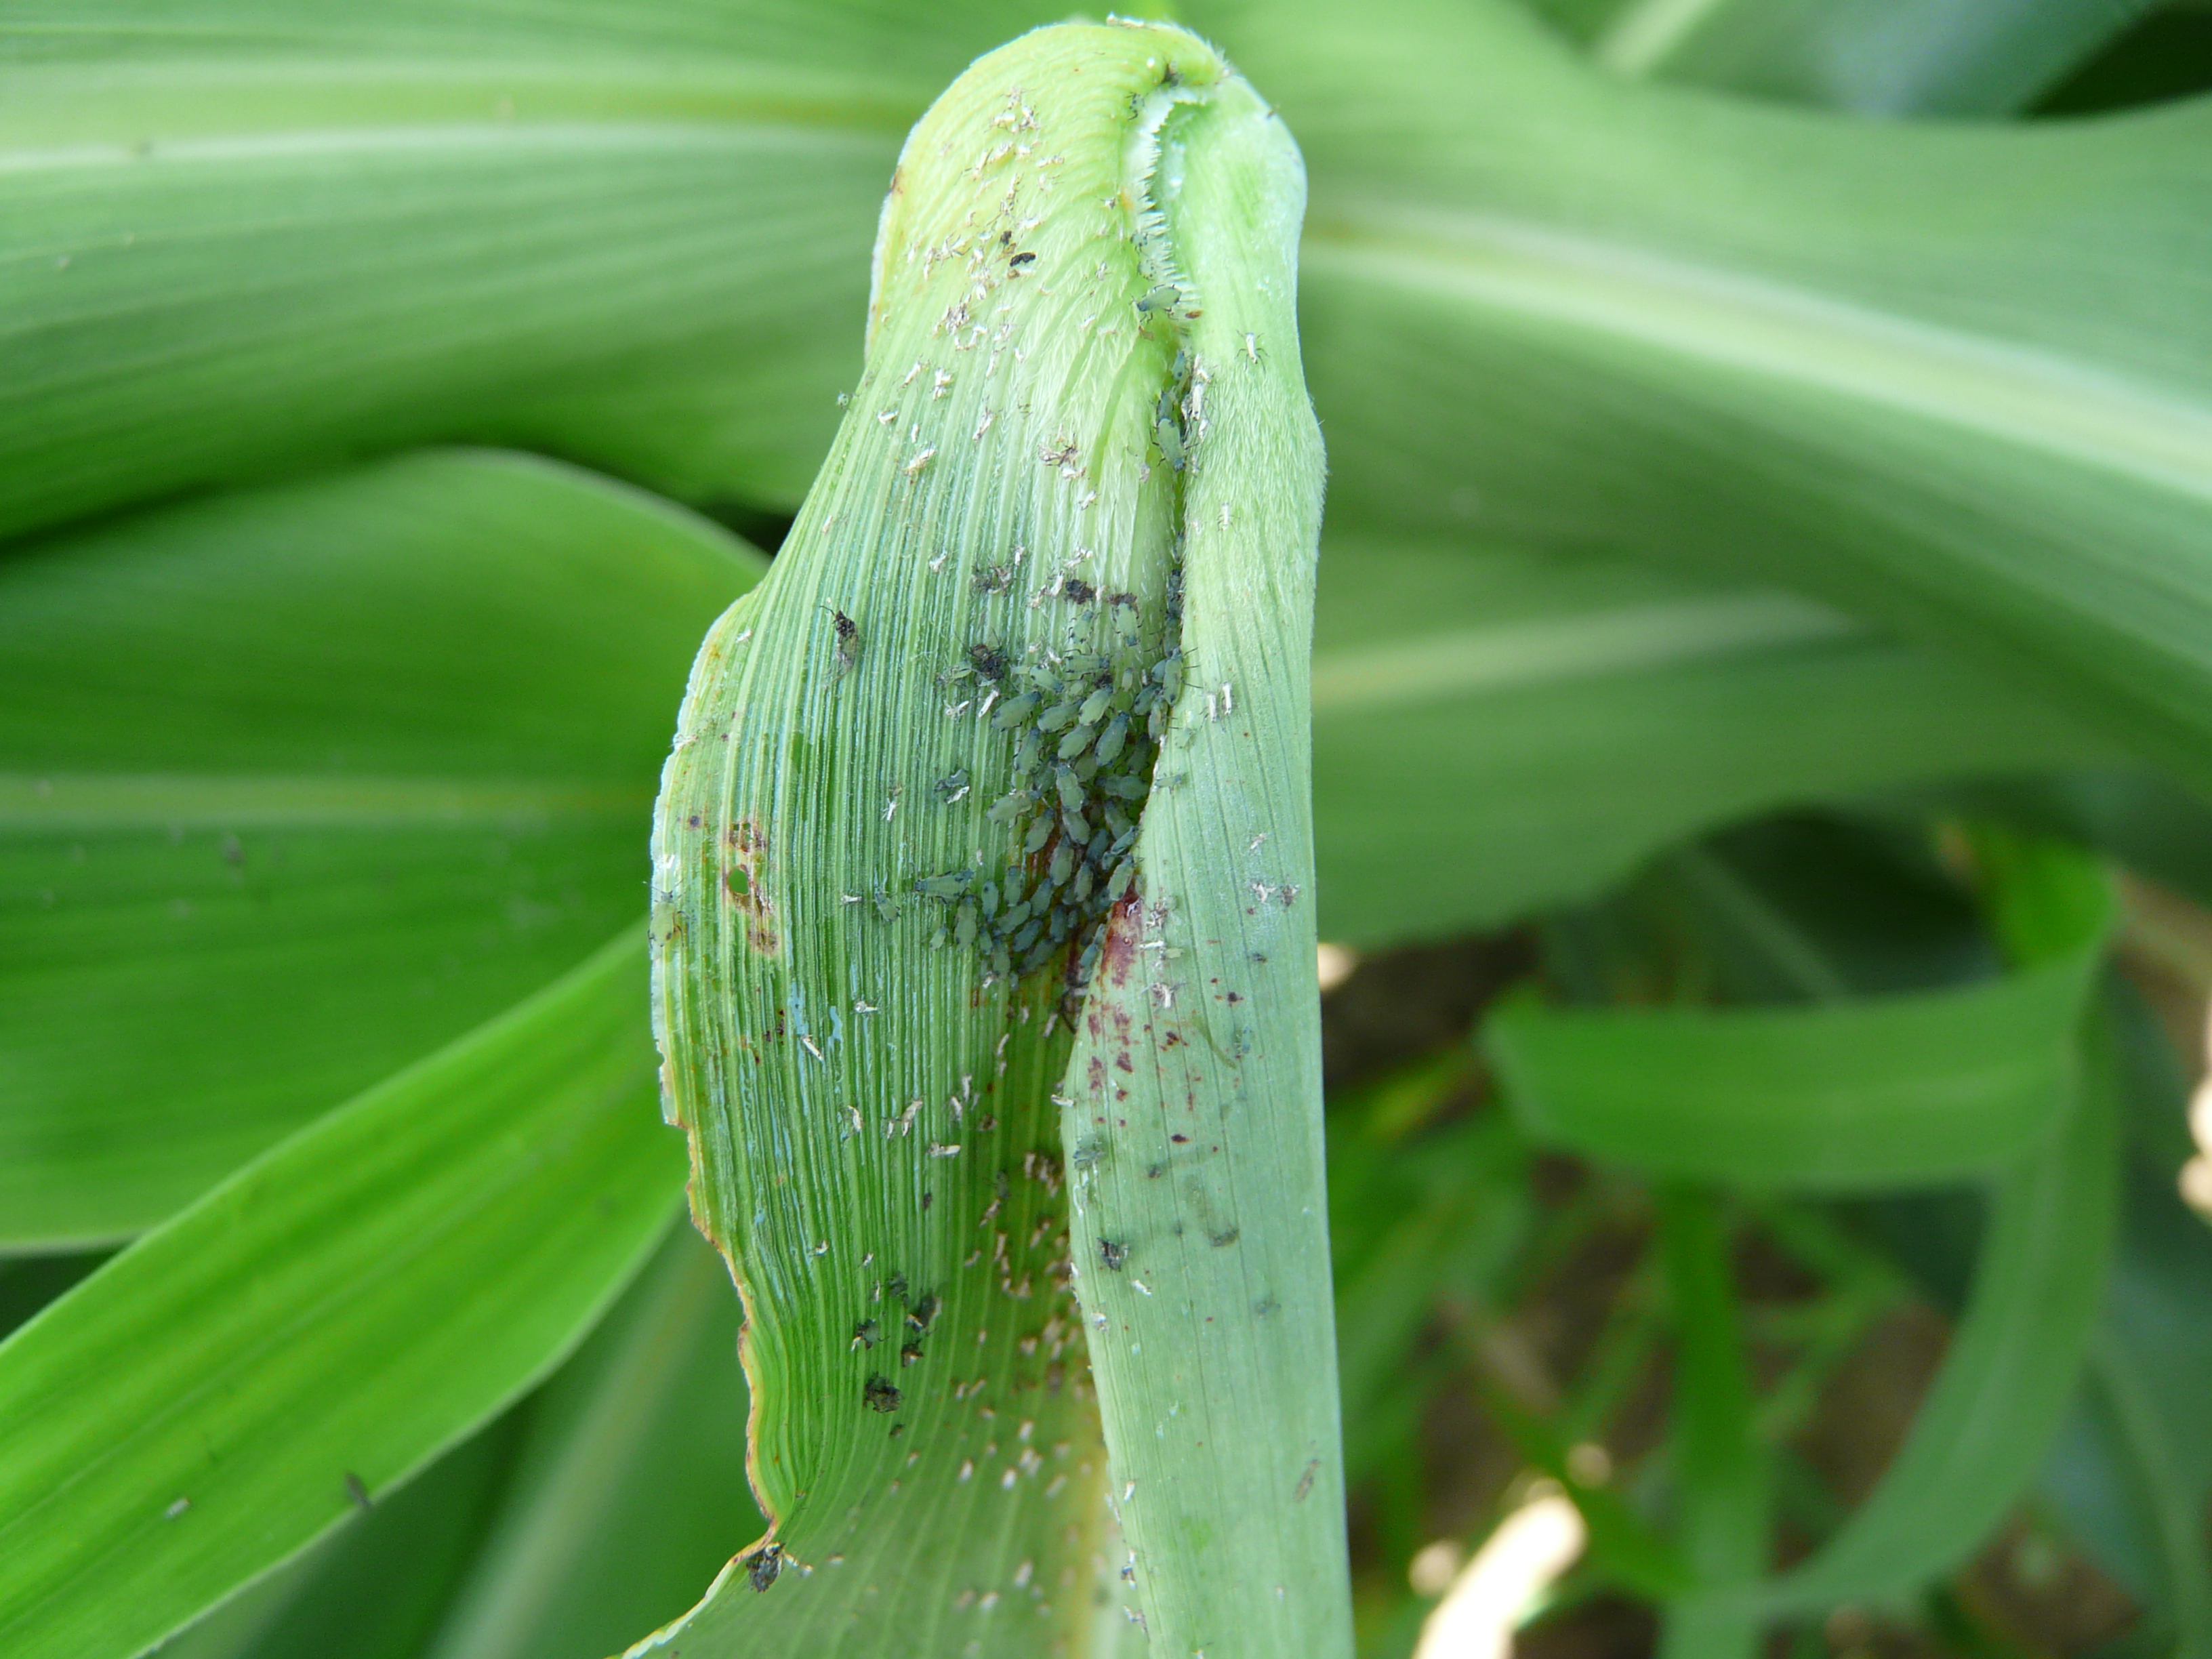
These pests can be a problem for various crops. They can cause stunted, deformed tassels of the corn. When the plat has a severe infestation, it would like covering in black mold.
– Seed Corn Maggots
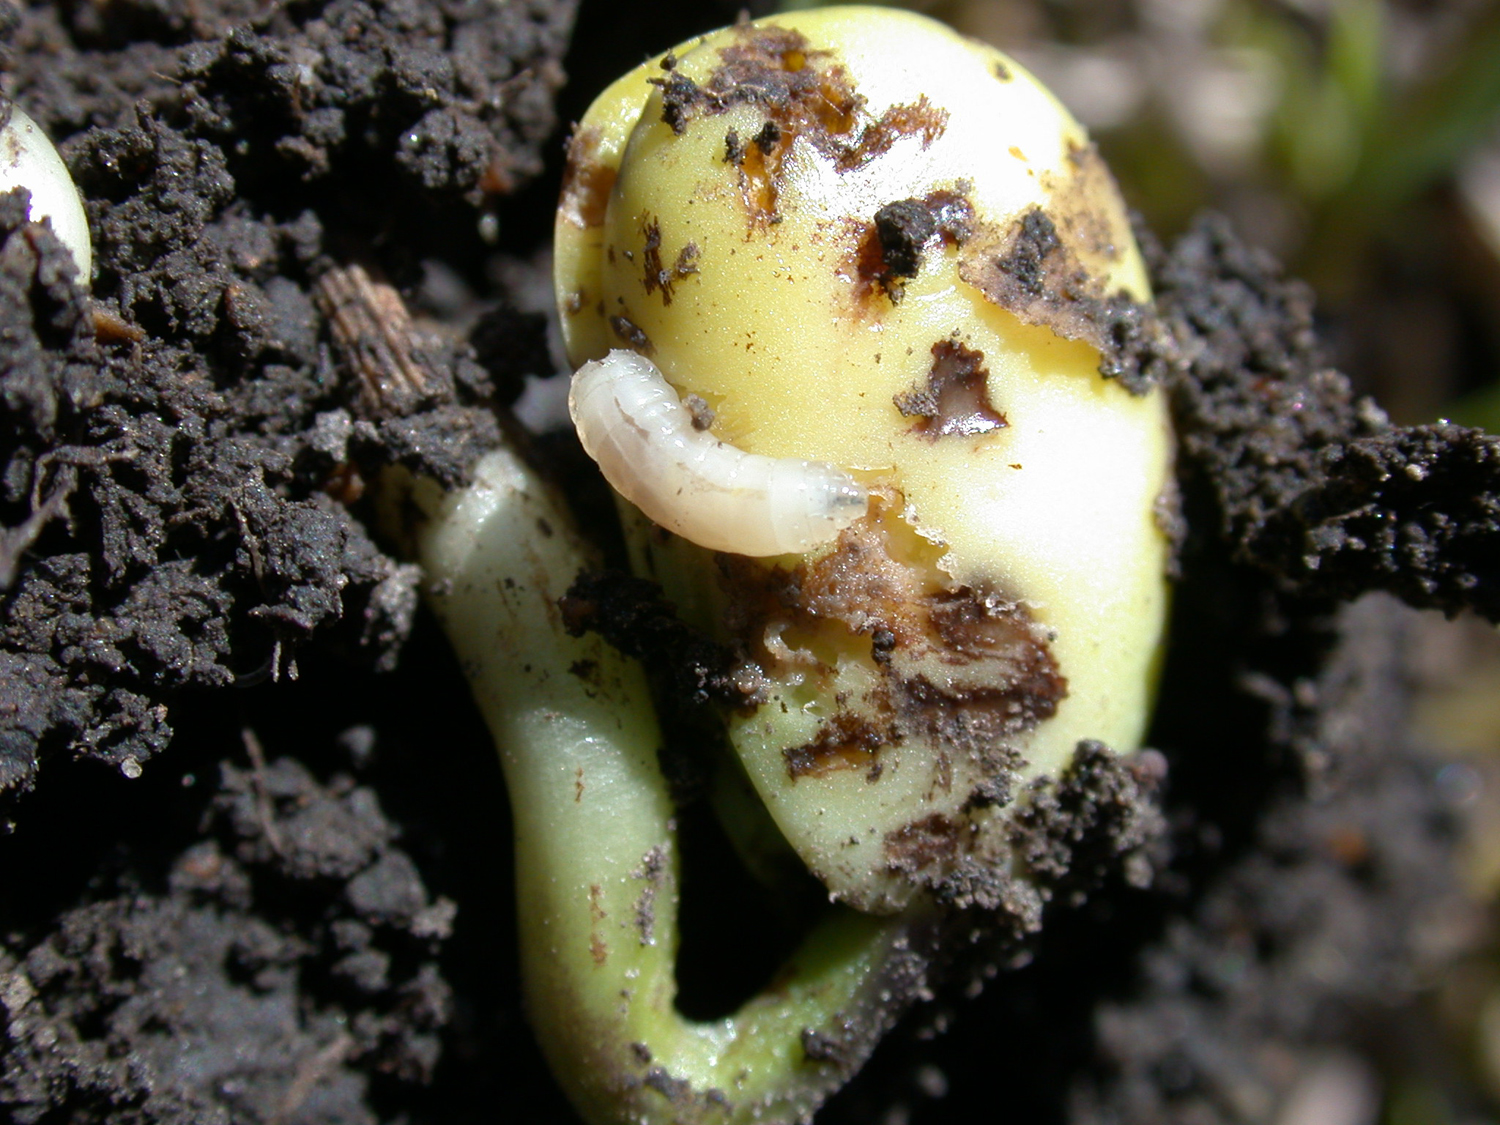
This one is the type of maggot that disturbs the crops in the spring season. These maggots target the seeds.
You have to watch your plants and keep these pests away especially during the germination process.
– Cutworms
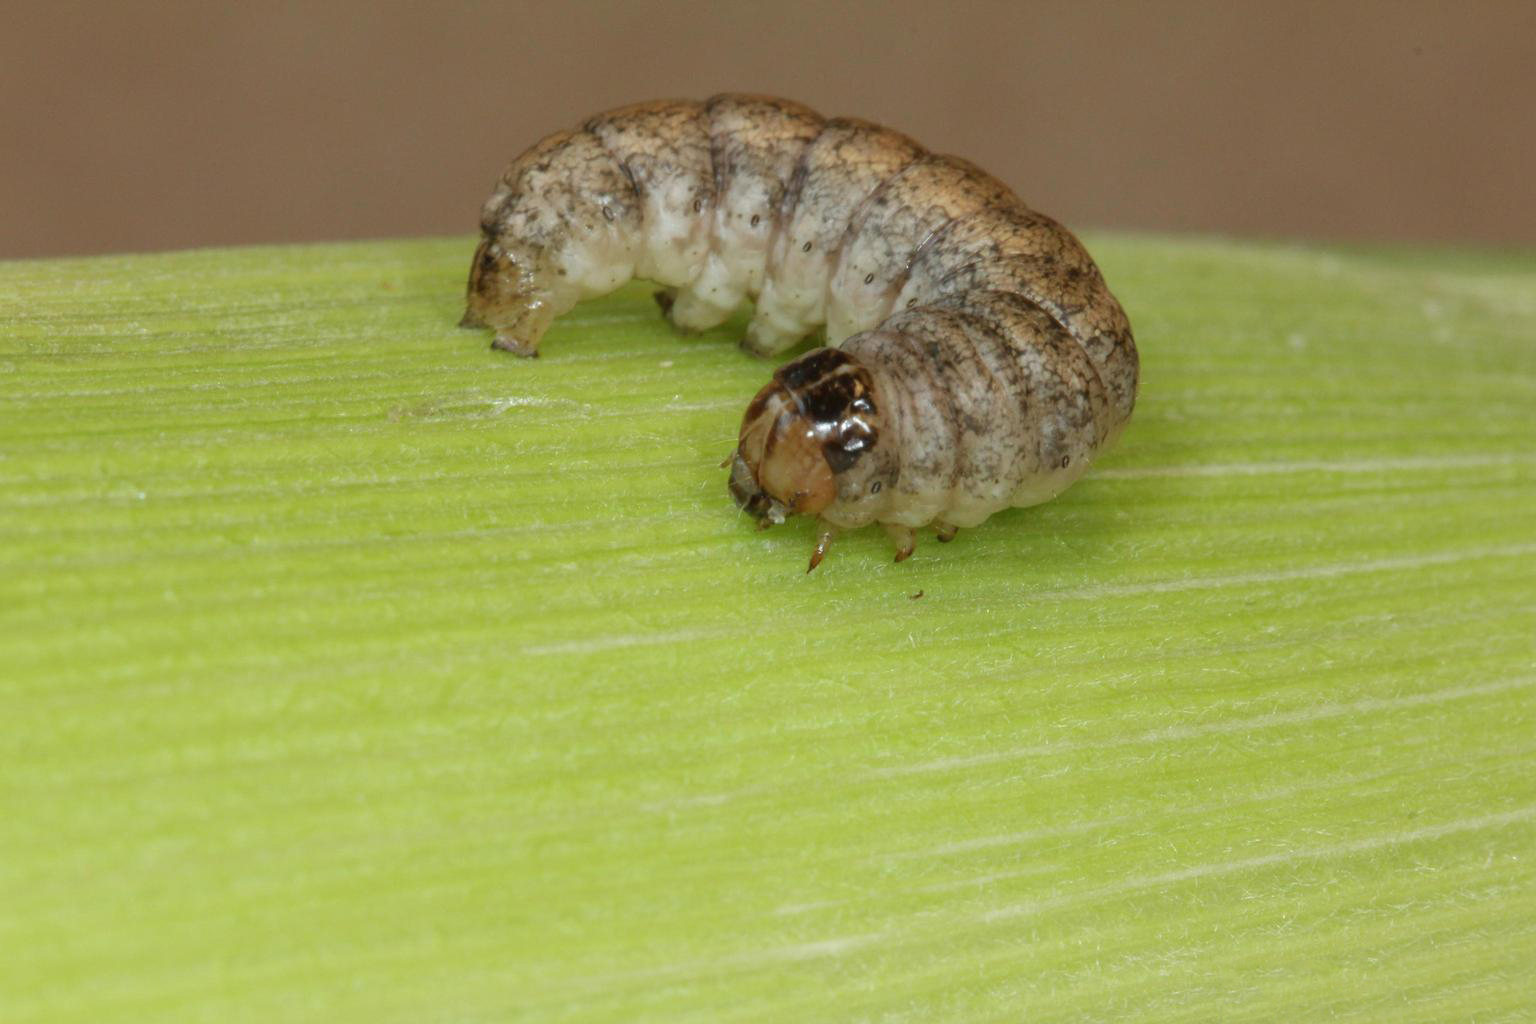
Another type of pest that causes the disease to the corn plant, Cutworm is a problem for many different plants.
It moves from one to another crop. When landing on each plant they will eat and devour. Typically, cutworms would damage the top part of the crop.
– Southern Corn Rootworm

These insects would love to eat the corn roots. Besides, southern corn rootworms would also eat the heart or bud of the plant.
Look for these insects in your garden by checking the entire leaves and root areas. It seems difficult to find but you can find them eventually.
How is Corn Pollinated
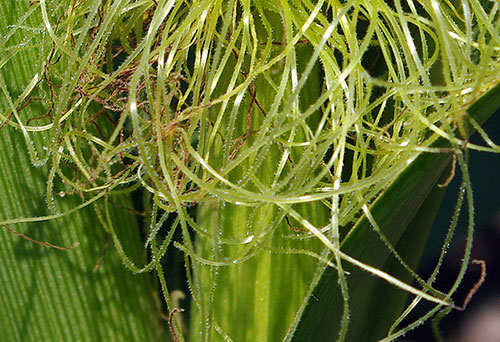
Typically, the corn plant gets pollinated by the wind. Pollination naturally happens when the tassels (male flowers) land on silks and ears (female flowers).
This process needs to happen to make a good crop and the wind helps it.
Let us talk about the pollination process. The male flowers emerge from the top of the plant. After that, they open to distribute the pollen on the female ones or silks that emerge from the young corn ear.
Each silk is a potential corn kernel. So, if the silks do not get the pollen, they will not become a kernel in the space on the ear.
There will be space or skips in between. When the condition is ideal, the tassels and silks come up together. This synchronicity is called “nick”.
In-home gardening, corn planting would be on a much smaller scale than a farm. These are a few tricks to ensure you do not face the “skips” problems.
- When the tassels reach the stage of dropping pollen, you may need to simply shake the plants to improve the pollination especially when the natural wind is not enough.
- You can do hand pollination as an alternative. Do it by snapping a tassel. Then, wipe the pollen on the silks.
It is like a manual process of pollination. For several ears, you will only need a single tassel. However, the process will be more complicated when you are growing multi-color corn.
- Instead of having long rows of the corn plant, you can sow corn in a block pattern. This creates a better chance for pollination since the pollen from tassels would be close to the silk.
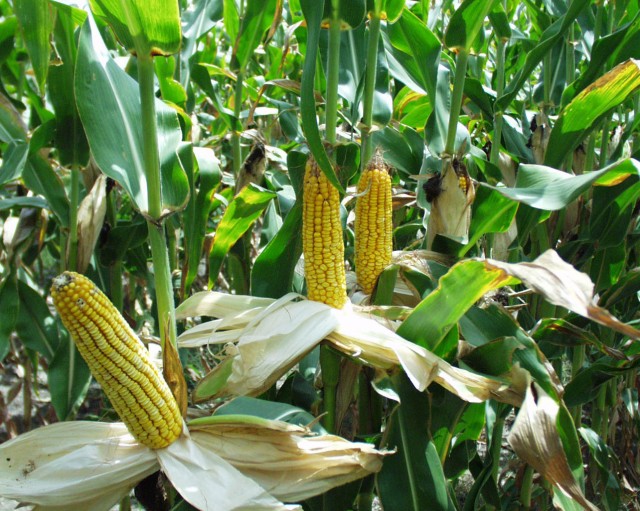
When to Pick Corn
This is probably the information you want the first time you get here. Picking corn is the most essential factor for quality crops, so define the right moment.
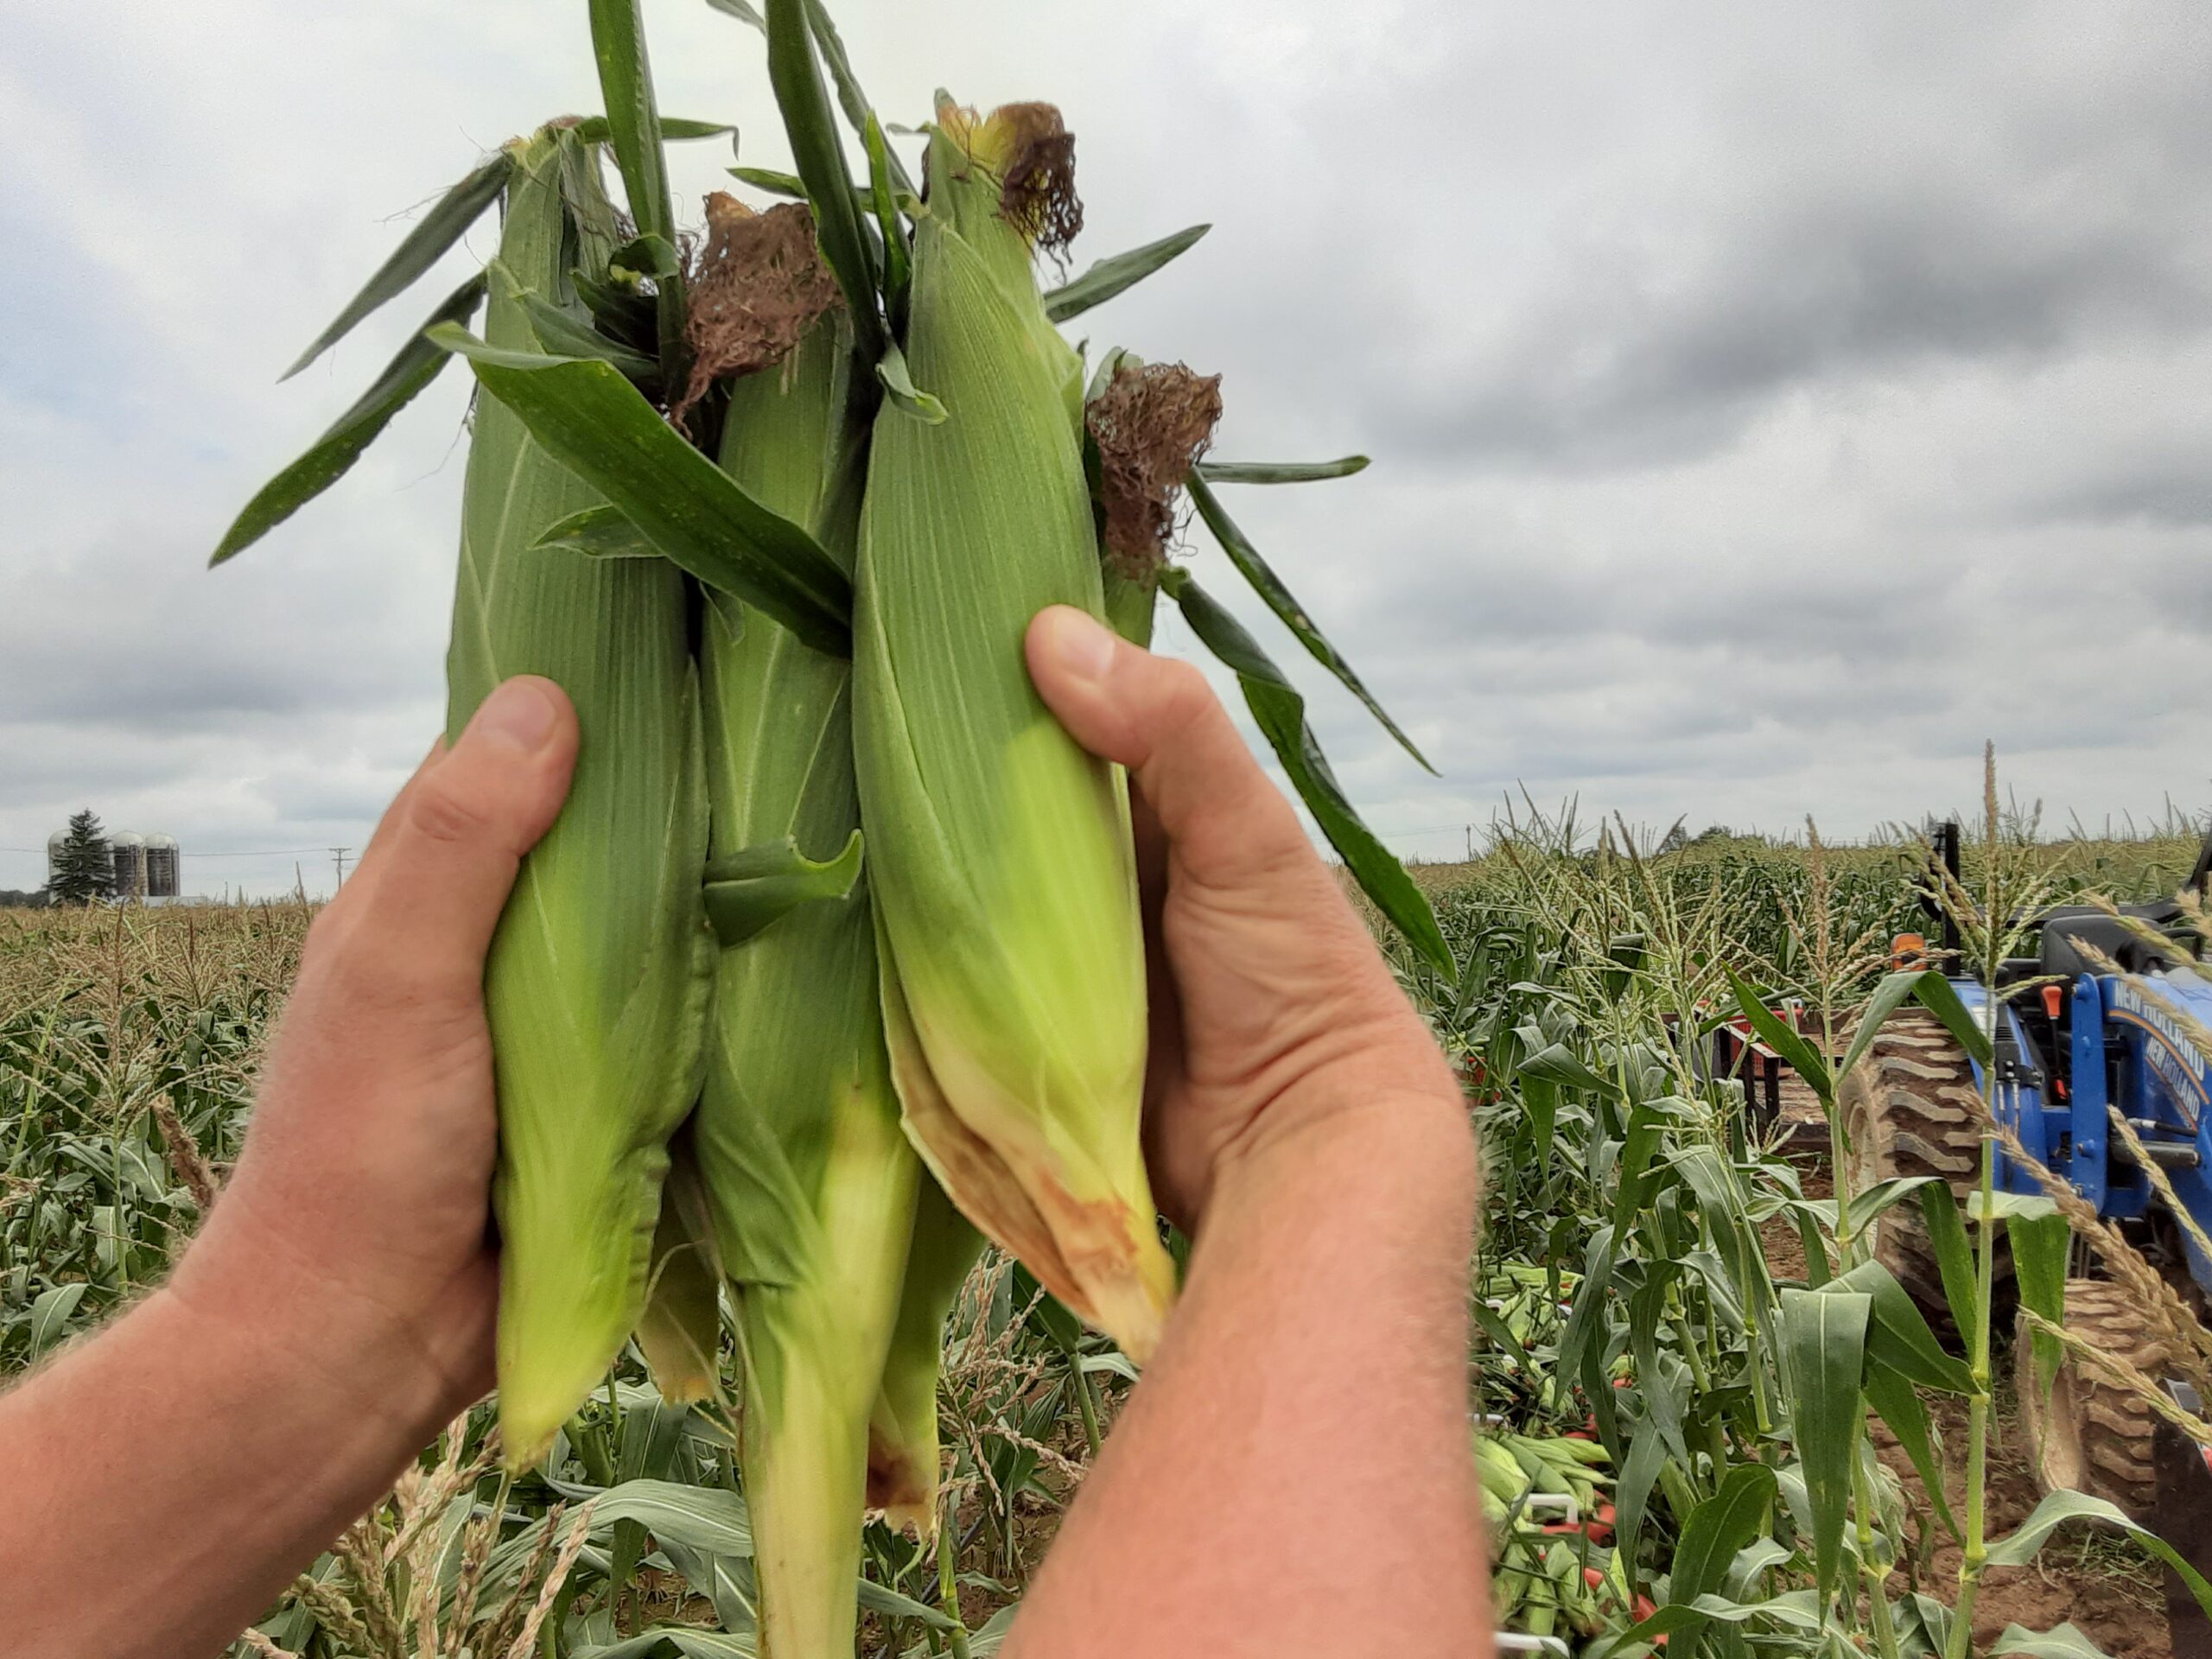
Typically, pick corn after 20 days. During the picking time, the silk hair turned brown. Each stalk will have one on the top part.
The ears in the lower position will be smaller and mature slower than the top ones. Before the picking, it should be in the “milk stage”.
Check for the milky liquid inside by puncturing a kernel. When the liquid is clear, it is not ready yet. Do not wait until there is no liquid anymore.
When to Harvest Corn
So, when is the corn ready to harvest? There is little more explanation about it. The early stage would be the preparation and the initial process of pollination.
Then, the mid-growth stage which still in the pollination process. The final one would be the ripening stage. At this phase, the ear begins to ripen. As it nears maturity, the hard ear would begin to soften.
It is quite difficult to decide when to harvest corn. Picking it too early would give you the hard kernels because there is no time to ripen and plump.
So, daily checking will be better, and keep an eye on it.
If you do not know when to harvest corn properly, you may pick it too late. The corn would become mealy and not edible at all.
To get you easy to decide the best time to harvest it, here are the 3 main signs that tell you the corn is ready.
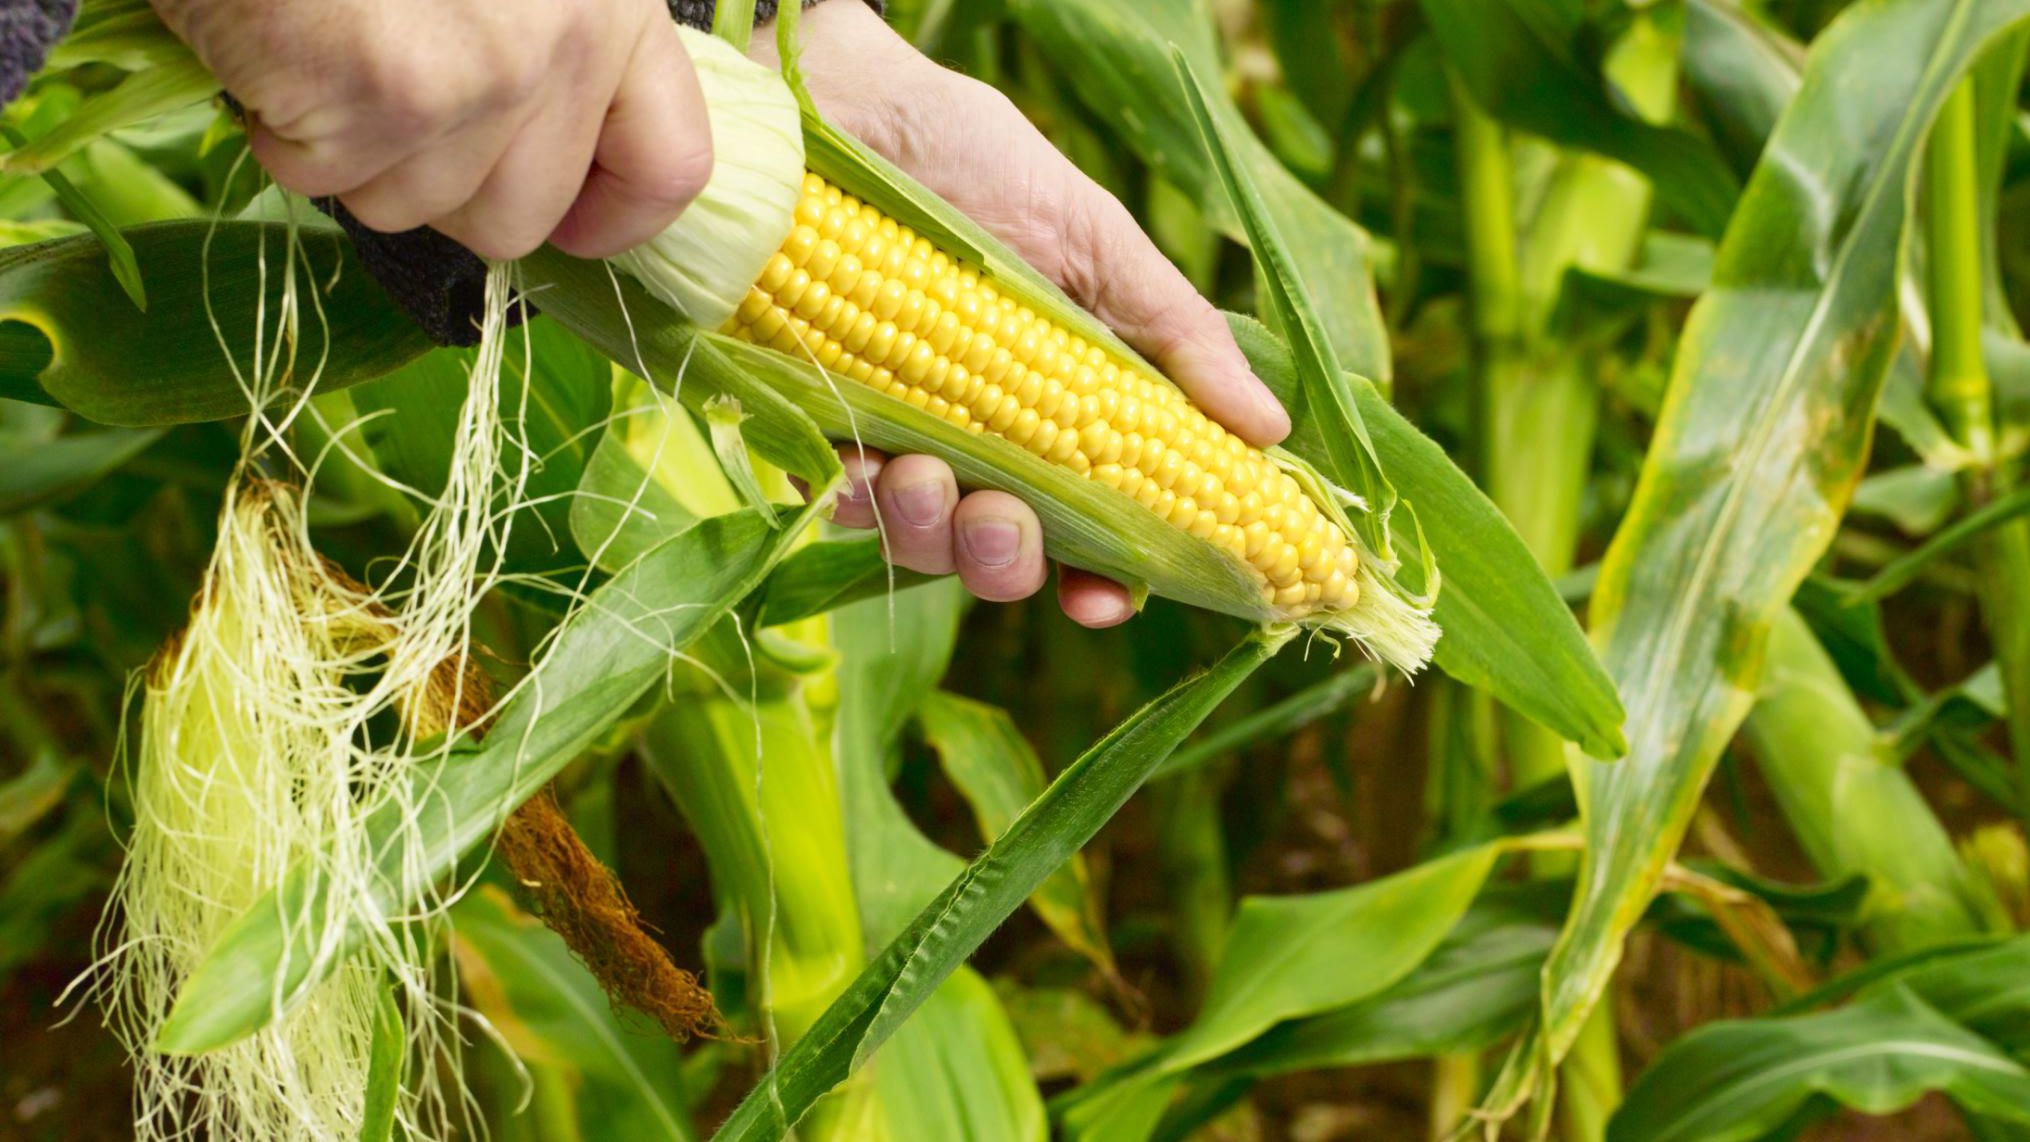
First, check the silks. When they are completely dried out, brown, and brittle, it is a good sign, though.
After that, if you see the ear is soft to touch and having a blunt tip, it is great. Next, you have got to check the kernel’s liquid. The milky white juice means that the corn is ready to harvest.
Conclusion
The corn is ready to harvest when it’s time to harvest the corn and the kernels are large and fully mature. The corn should be harvested and shelled. If the kernels have a watery milky sap, they are not fully mature and the corn should remain in the ground.
After finding out the best time of when to harvest corn, you have to prove it by yourself. Start planting the corn types you want. Treat the crops based on the knowledge in this article. You will be fine.
This article seems self-contradictory when it comes to the milky sap. First it says check for milky sap, and if it’s still clear (I interpreted that to mean “not milky”), it’s too early. If the sap has dried out, it’s too late. Then, later in the article, it says if the kernels have a milky sap, they are not mature and need to stay in the ground. So, which is it?
Hi Steve, thanks for visiting Mystargarden.
You are correct to interpret it as not milky and by that means is watery.
The second statement is our mistake. We are truly sorry. It had to be “watery milky sap” instead. We’ve edited the articles.
Thank you for correcting us, Steve.