Have you ever thought to grow plumps? Growing plums in the right spot can actually add beauty to your patio. Moreover, plums are tasty cooked in jams and cakes or even eaten right out of hand. So here are the incredible tips on how to plant a plum seed, grow and harvest plumps.
In this article, you will receive a complete techniques on how to plant a plum from seed including the ideas on how to crack the plum seeds, how to grow the plum tree from seeds and cuttings, what to do with the plum pits, how to grow a plum tree from a pit and how to care for a plum seed.
How To Crack Plum Seeds
Would it be the first time for you to crack plum seeds but you don’t know how? No worry!
Simply, tap the plum seed using a hammer. This tool is just good enough to crack the plum seeds. This process is called scarification. It is the process how you break the seeds dormancy and tell about the right time to germinate.
In short, if you want to crack the plum seeds, make sure you have the tools at least the hammer and a vise. These are the tools which are considered helpful to crack the plum seeds.
How To Grow Plum From Seed
For human life, a plum is very nutritious and beneficial fruit. It can be consumed in many different manners, from the raw, canned to jams or jellies. Further, plum can also be used as flavorful desserts. Among the three plum varieties that are European, Japanese and Damsons, the Japanese varieties are the most common plums in America for consuming raw.
When the plum is grown from seed, consider choosing an ornamental tree due to the fact that plum tree grown from seeds are rarely producing seeds. Thus, it is expected that the ornamental tree will bear fruits as you wish.
Here are the steps to grow plum from seeds:
Prepare Your Plum Seeds
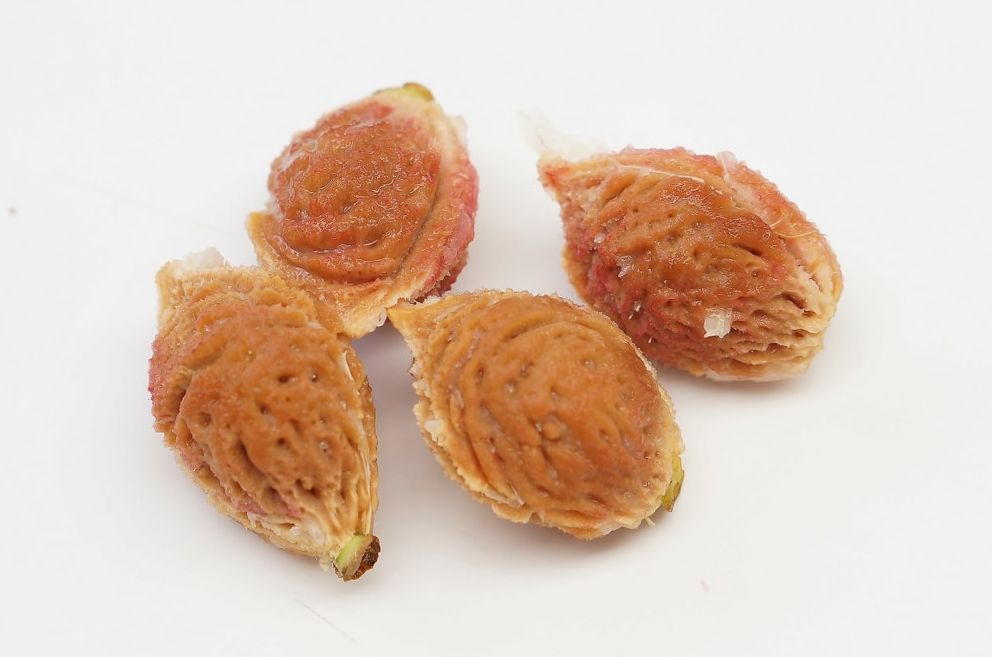
To prepare the seeds, you need to firstly remove the plum pits out of the fruit and store them in a wire basket or colander. Pour cold water over the pits to remove the sticky residue. Set them aside on paper towels and let them dry for one to two days.
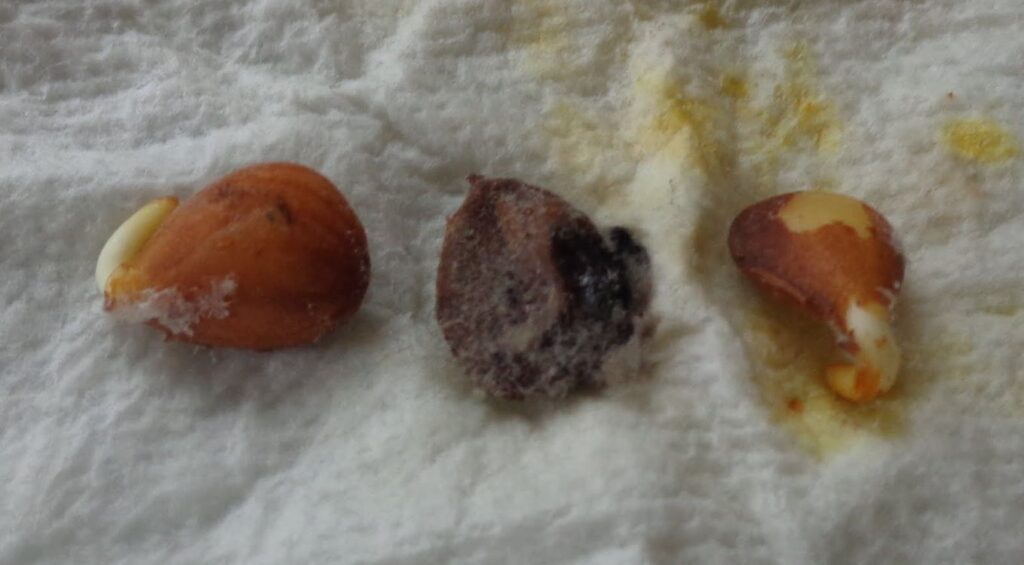
Crack to open the pits and take out the plum seeds using a nutcracker, a hammer or a vise. Do cracking carefully so that all the plum seeds will not get damaged.
Take 2 cups of fine sand to dam down and place them into a large zippered plastic and close it. Shake it gently to spread the sand over the plum seeds. Afterward, set the bag into a cold spot like in the back of refrigerator where the temperature will keep 35 and 40 degrees F. Maintain this condition for three months. Check the plum seeds bag three times a week to ensure the moisture. Give water to mist the sand as needed.
Later, take the plastic bag out of the cold spot and pot the seeds into an individual pot you have prepared before.
Plant The Plum Seeds
After you finished preparing the seeds dealing with the steps on how to plant a plum seed, the next step is to plant the seeds. This way, add sterilized potting mix into a gallon of planting pots. Water each of the pot and make sure the soil is well dampened. Also, make sure that the potting mix in each pots is well-compressed.
Later, create two holes in the center of each pot that comes with the 2 inches deep. Drop one seed into each of the hole and cover it suing the potting mix for about two inches.
Locate the pots in a place that receives enough light and warmth. In this case, 10 hours of light is considered ideal along with the temperature of 55 to 70 degrees F. Giver the plum water sufficiently to keep the moisture of the posting mix. This way, germinating plum seeds usually need three or four weeks depending on the growing situations.
The next thing to do is transplanting each seedlings of the plum tree into their permanent location where they will grow for about 10-12 inches tall.
Based on the University of California, you should grow the plum variety which is suitable for your growing areas particularly when you are selecting a plum variety.
Also read: How To Grow A Better Boy Tomato Plant
How To Grow A Plum Tree Form Cuttings
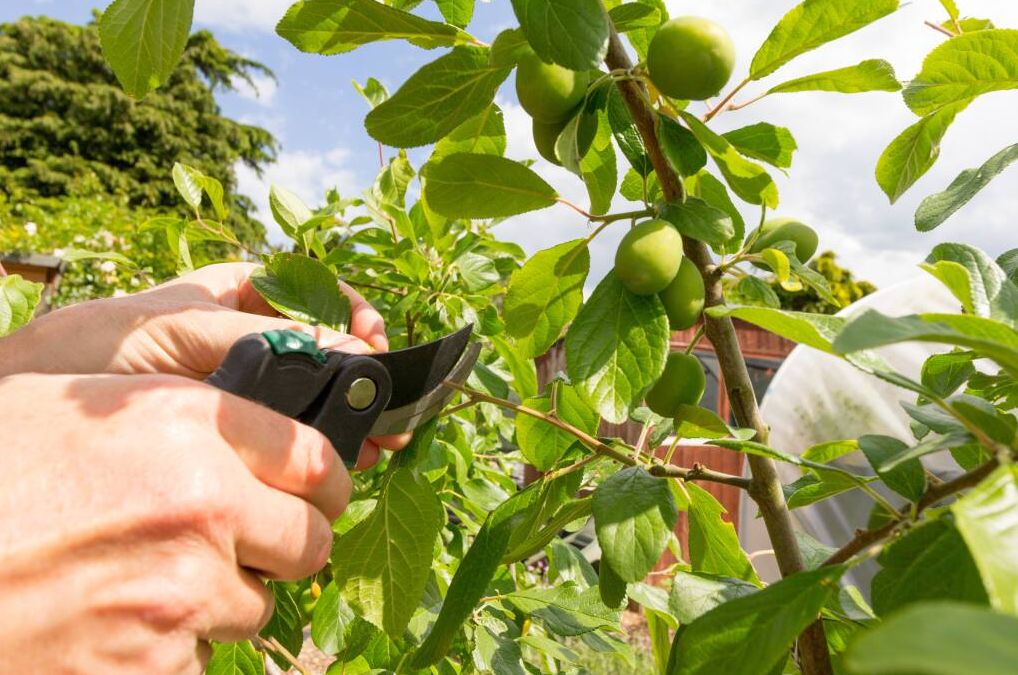
There are some steps to follow if you really want to grow a plum tree form cuttings as follows:
- Make standard-size trees that is 20 to 25 feet apart and dwarf trees about 10-15 feet apart.
- Set bare-root trees on the top of the small mound of the soil in the center of the hole for planting. This way, the roots must be spread away and down without bending them.
- Remove the tree form its container and free up from any tightly cycling roots by laying the root ball on the sides with shears. Avoid damaging the roots.
- When you are planting the grafted trees, keep the graft union from 1 to 2 inches above the soil line. This is aimed to let the roots to grow.
- Dig a hole which is deeper and wider than the root spreads.
- Water the plum tree at the moment of planting to help the soil stay around the roots. Keep watering the tree well for a few weeks after the plantation.
- For the trees with the bare roots, it is frequently recommended to stick the tree for at least one year. Make sure that the tree is stable enough to stand on its own.
What To Do with The Plum Pits
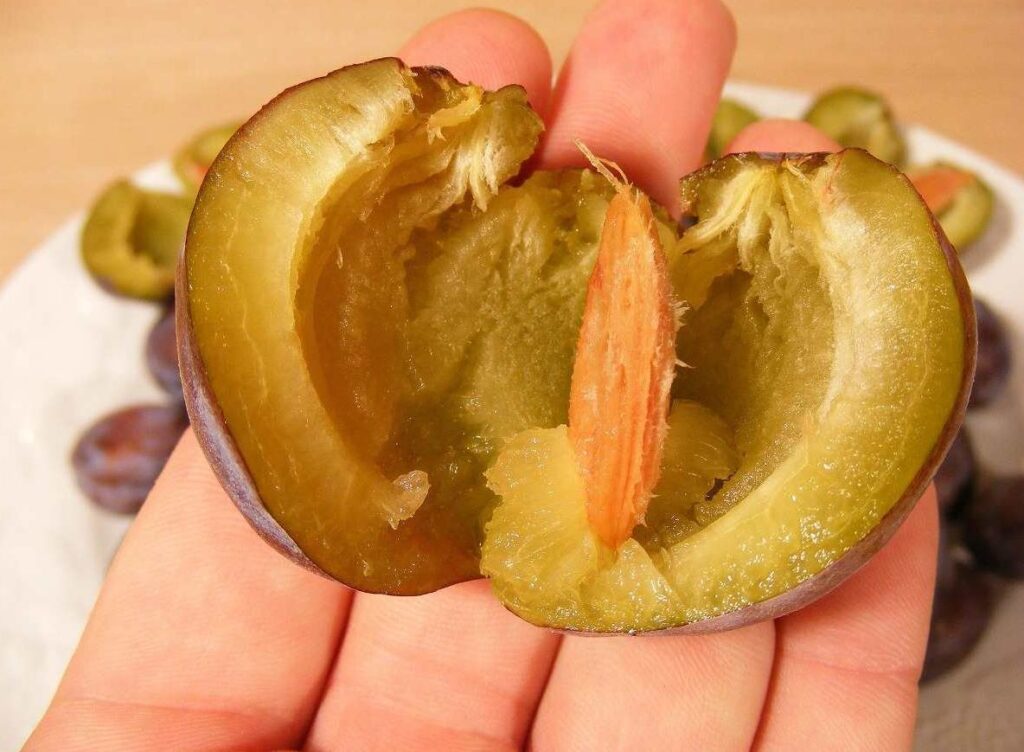
In relation to how to plant a plum seed, there must be a large amount of plum pits you will have.
So what do you do with the extra plum pits that might cause a human-types to turn up their noses? After all, the figs, the late peaches and grapes are in abundance when you are just pruning the harvest.
In this regards, you can make prune plum butter. It will be just fun for the boys to pick up the plums and bring them home. It is just as easier as picking up eggs. Here are the steps to make prune plum butter you can follow:
- Put the cooked prunes through a sieve to take out off the skin and pits. It will be fascinating to do so.
- Wash the fruits with soap and vegetable soap. Let the plum pits to drain and put them in a large container along with sufficient amount of water. This way, you need roomy spaces for the fruits, removing the stems and leaves and any garden debris you pick up. Let the prune plum to drain and locate them in a large container or pot. Make sure it has enough water to put ½ inch of it in the bottom part of the container or pot.
- Locate the pot over a low flame and cover with a good suitable lid.
- Stir the plum to ensure the cooking process evenly and prevent the cooked plums from burning on the bottom.
- When the plums release their skin and the pits begin to loose, it shows that the plums have been cooked enough.
- Use hand strainer to take the fruit pulp out of the skin and pits.
- Use the skin and the pits for the compost.
- Put the fruit pulp into a crock pot. Add sugar as you like and have a taste. Three cinnamon sticks to give enough seasoning to the pulp. You can also add lemon juice if you like. Taste to suit your preference.
- Set the crock pot with the low heat and partially cover it.
- Stir the pot several times in a few hours before you go to bed and in the morning in the next day. In the morning, the spices must be removed. About the late in the second day, the plum butter will be ready for use.
- Last, the plum butter can be stored in the refrigerator using a glass container. You can also alternatively can it in an open kettle.
How To Grow A Tree from A Pit
Dealing with the incredible ways on how to plant a plum seed, here is the steps you need to know if you want to grow a plum tree from a pit.
- Grab the pits from the plum fruits grown locally around your house.
- Apply a method of out-of-the-way section of the kitchen counter to place the pits. Leave a side until the shells become dry and a bit brittle. You will need a few days if do this in the dry season. In the other hand, you’ll take it longer if you do it within the high humidity.
- Use a vise to crack the pits. If you use hammer, just tap the pits lightly until they break. Note, whatever tools you use, please pay attention to the precaution that is not to crush the seed inside.
- Soak the seeds in the water overnight.
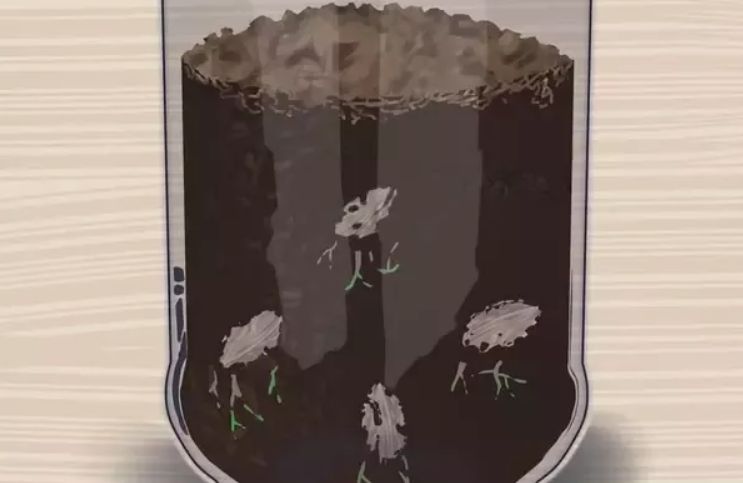
- Cover the seeds by adding sufficient amount of potting soil to a glass of jar. Make sure to keep the soil moist evenly without saturating it in water. Why must you use a glass? It is aimed to allow you to check if the germination goes well.
- Burry the seeds in your prepared potting soil and close the jar with the lid.
- Store the jar in the refrigerator. The seeds will set until the fall and the winter since the seeds like the cold environment. This process is known as stratification, which is much necessary for getting the particular seeds to germinate indoors.
- Check out the seeds very often. If you see the sprouts, it means that the young roots begin to spread. Also, check out the jar and the soil. Add water every time is gets dry. Note, stratification will succeed only when the seeds are in a cold and moist conditions.
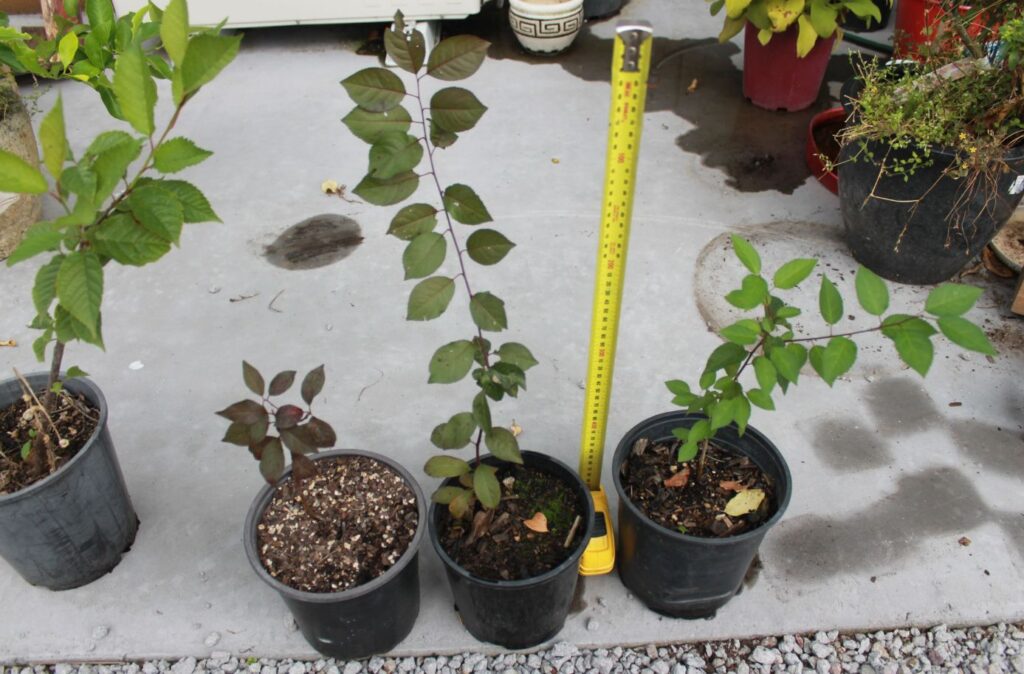
- Put the potting soil in a small pot one month before the predicted frost.
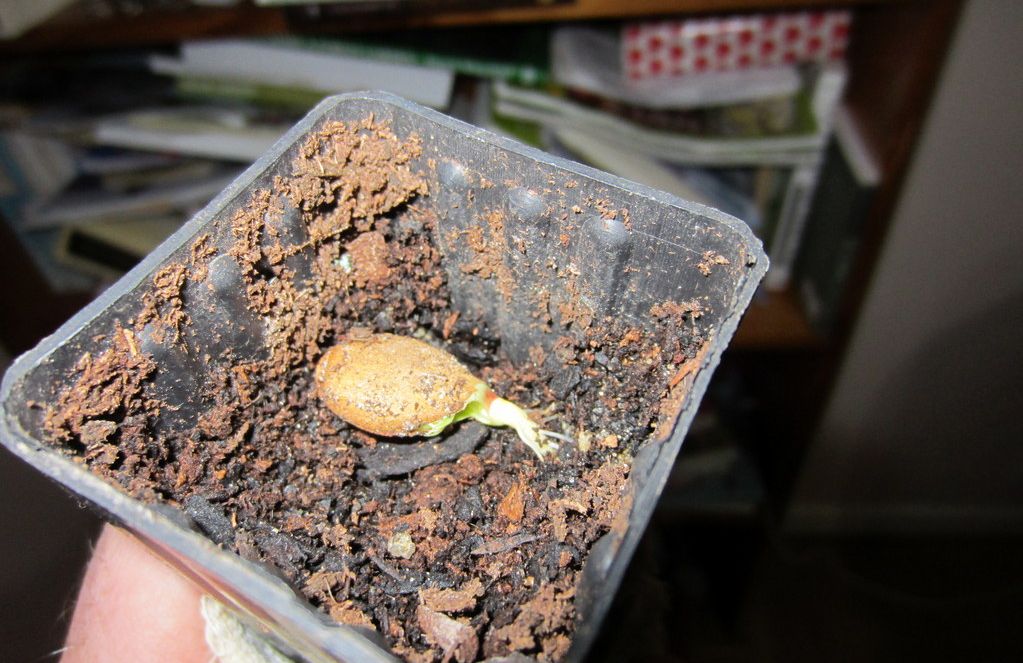
- Take the seedlings out of the fridge and plant them in the container or pots you have prepared before.
- Give the seedlings enough water regularly to keep them moist while they are continuously grow.
- Transplant your plum tree outdoors when the weather is warming up. Locate them in a sunny area along with the well-drained soil and organic matter. Irrigate them regularly in their growing season. This way, spring is the season considered as a growing season for the plums.
Also read: What is a Pluot and How to Grow Them
How To Care A Plum Seed

When you are considering planting plums, it would be very necessary to care a plum seed especially if you grow the fresh plum seeds or pits. Yes, care the plum seeds by firstly removing the pits and wash them in lukewarm water. Use a soft scrub brush to get rid of any pulp.
This way, the seeds require a chilling off period at temperatures between 33 and 41 degrees F before they start the germination for about 10 to 12 weeks. As we have mentioned, this is known as stratification process.
Final Words
Finally, we have shared you the complete techniques on how to plant a plum seed. Isn’t it easy enough? The only one thing to keep in mind is that you must pay attention to the precaution of how to do something and follow the instructions carefully.
Never throw the pits into the dustbin since you can add them to the compost. This is actually a great benefit to derive from having plum tree. Thus, make sure you plant the plum tree well either from cuttings or from seeds. Consider making use of anything from the plum.
Also, if you find this helpful, don’t hesitate to share it with your friends.