You may not realize this, but knowing how to make a drainage ditch look good can be a handy tool on your part.
Every homeowner doesn’t want to deal with water build-up issue because it can lead to serious issues and significant damage.
That’s why building a ditch would be a good idea. But how can you manage such a functional drainage ditch?
Landscaping a Ditch Bank
If you want to landscape a ditch, the knowledge about how to make a drainage ditch look good is definitely crucial.
A drainage ditch will provide a path (or a way) for the excess water to flow properly.
Not to mention that it gives you a sense of control of how much (rain) water that can sit in your yard or not.
There are some extra benefits of having a good (and functional) drainage ditch.
It improves the nearby trees and plants growing conditions. It solves mosquito issues because they no longer have water pools to live in.
The ditch is typically adorned with attractive plants and flowers, so the soil won’t be bare anymore.
Bare soil increases the chances of erosion, so such thing won’t happen.
Not to mention that growing plants and flowers will deter weeds from filling out your garden. Simply combine rocks and vegetation to ‘decorate’ the yard.
Simple steps and ways to make a ditch:
- If the bottom side of the ditch is soil, you want to use river rocks over the ditch. Spread the rocks within a single layer. They should be able to cover the bottom area, as well as 1 feet to 2 feet on the sides.
- Clear out the ditch from roots and weeds systems. Dig around 2 inches in depth. Then you want to mix top soil and also native grass seed in similar parts. Spread the seed in 2-inches of layer over the soil (which is located on the ditch’s sides). By using wooden stakes, secure the erosion netting (over the seeds). Then spread straw (a thin layer of it) over the net. It will make the seeds stay moist, until it’s time for them to germinate.
- Plant ornamental and decorative grass on the top side of the ditch. You may want to consider grasses as they can always grow well even in poor soil condition. They are also low maintenance, so you don’t need to deal with any drama for the maintenance. Not to mention that they will grow in various colors, heights, and textures. You can basically ‘hide’ the ditch on the back side of these (thick) foliage. Choose variants that can tolerate moist soil, such as feather reed, northern lights, or Miscanthus.
- Add hardy flowers and also shrubs on the drainage’s highest areas. They are helpful to prevent erosions. Go with plants that are able to tackle poor (growing) conditions, while able to add contrast and colors to your landscape at the same time. Plants like azaleas, winter honeysuckle, meadow rue, and irises are just great examples.
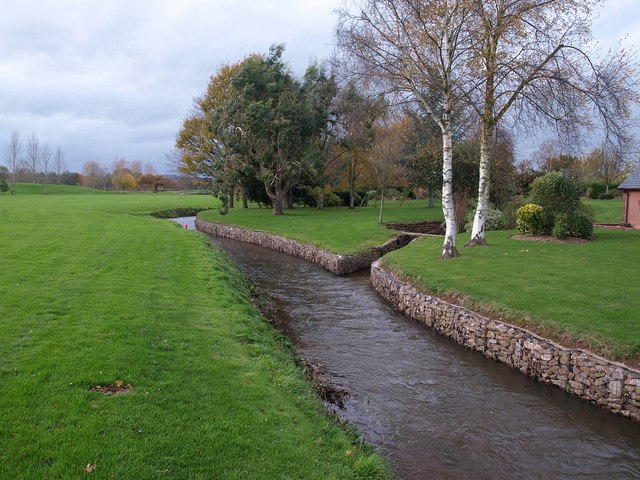
How to Build a Rock Drainage Ditch
Careful plan on installation drain is a crucial part of how to make a drainage ditch look good. Rock drainage ditch is solid and strong.
If you build it carefully, you won’t have to worry about erosions or such a thing. But planning it from the beginning is extremely imperative.
First thing first: You need to plan the so-called trench path. It will capture water and then conduct it downhill.
That trench should be around 90 centimeters wide and 45 centimeters deep. Line this trench with a special landscape fabric.
Then add around 20 to 25 centimeters of gravel before topping it off with smooth stones or rocks.
As a final touch, add plants or stones as the border, so the trench can also function as a dry creek (bed) lawn that is visually appealing.
Here are the things to consider when planning a rock drainage ditch:
- Make sure that the drainage system will transport the water downhill so it won’t cause any water pooling
- The trench should slope down 2.5 centimeters (minimum) for every 3 meters so it can drain water properly
- Make sure that the ditch is curve so it can capture water – and drain the water downward
- Always measure the yard’s slope so you can plan out the proper drainage
- Rock drain is different from the French drain. Rock drain must be wider instead of deeper, while French drain is deeper instead of wider. This is crucial to prevent any flooded ditches, washouts, and erosion.
- Choose medium to big rocks for the rock drainage. Don’t use pea gravel, sand, or small rocks because they won’t drain well and they are sensitive to compaction.
Roadside Ditch
The roadside ditch is considered the landowners’ responsibility, so if you have one in front of your house, you have the rights to decorate or landscape it.
How to make a drainage ditch look good on the roadside? You can plant cattails or sedges, as well as the horsetail.
Consider laying flagstones on the soil directly so the ditch won’t erode.
Combine it with mosses so your roadside ditch looks appealing and attractive.
Landscaping Residential Ditch
Not many people know the proper way on how to make a drainage ditch look good.
But in reality, there are actually several ideas that you can use in your landscape planning. Some of the plans include these ideas
- Rock Ditch
We have discussed the details of this ditch in the previous section.
If you have a dry (creek) bed, using river rocks will do it. If you want to have one that flows in between the flowers or flower beds, use stones or pebbles.
Dense arrangement around the beds or pebbles that flow toward the streambank would be a good idea.
Feel free to combine ornate and dense arrangement too.
If you want a more complete work, cover the whole yard, connecting wood elements, mulches, pebbles, and rocks together.
- French Drain
Want to have a formal appearance? Use the French drain because it will use concrete pavers, bricks edges, and others
Landscaping Drainage Ideas for Backyard
You want to learn more about how to make a drainage ditch look good, not only because you want to improve the look of your backyard, but also for dealing with drainage issues.
Here are some of the most common drainage issues that mostly happen to residential backyard:
- Impacted soil. This may happen due to construction projects around the house
- Too short downspout. If the gutter’s downspout somewhat directly points into a flower bed (or other landscaped areas), the excess water may collect in the soil beneath and mulch.
- Yard pitch or slope. It’s highly likely because of the flat pane (of the soil) that doesn’t divert water away.
- Front walkways. If a concrete or sidewalk path is located on the front side of the house, it highly likely blocks the water off. Because of this, it prevents the water from running through the yard and into the (storm) drain.
- Runoff erosion. If the downspout’s runoff has somewhat stripped the topsoil away, it will lead to heavy pile and collection (right beneath the area of erosion).
Once you have found the issues, there are several yard solutions that you can do.
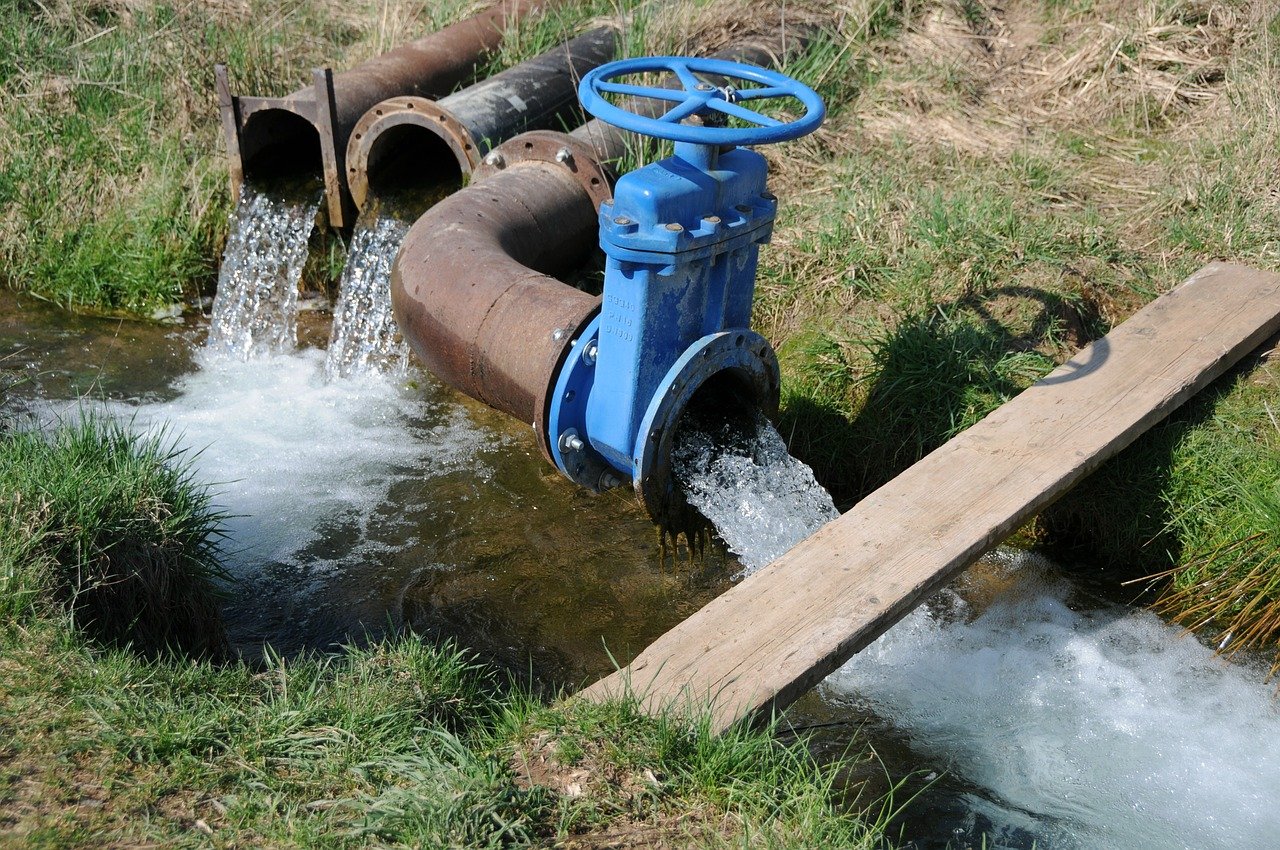
- Extend the Downspout
In the event that it is the runoff that causes drainage issue, and the runoff comes from the gutter system, you need to extend the downspout away.
But if you divert the runoff away (from the house), make sure that you send it to a storm drain or safe sources – not to your neighbors.
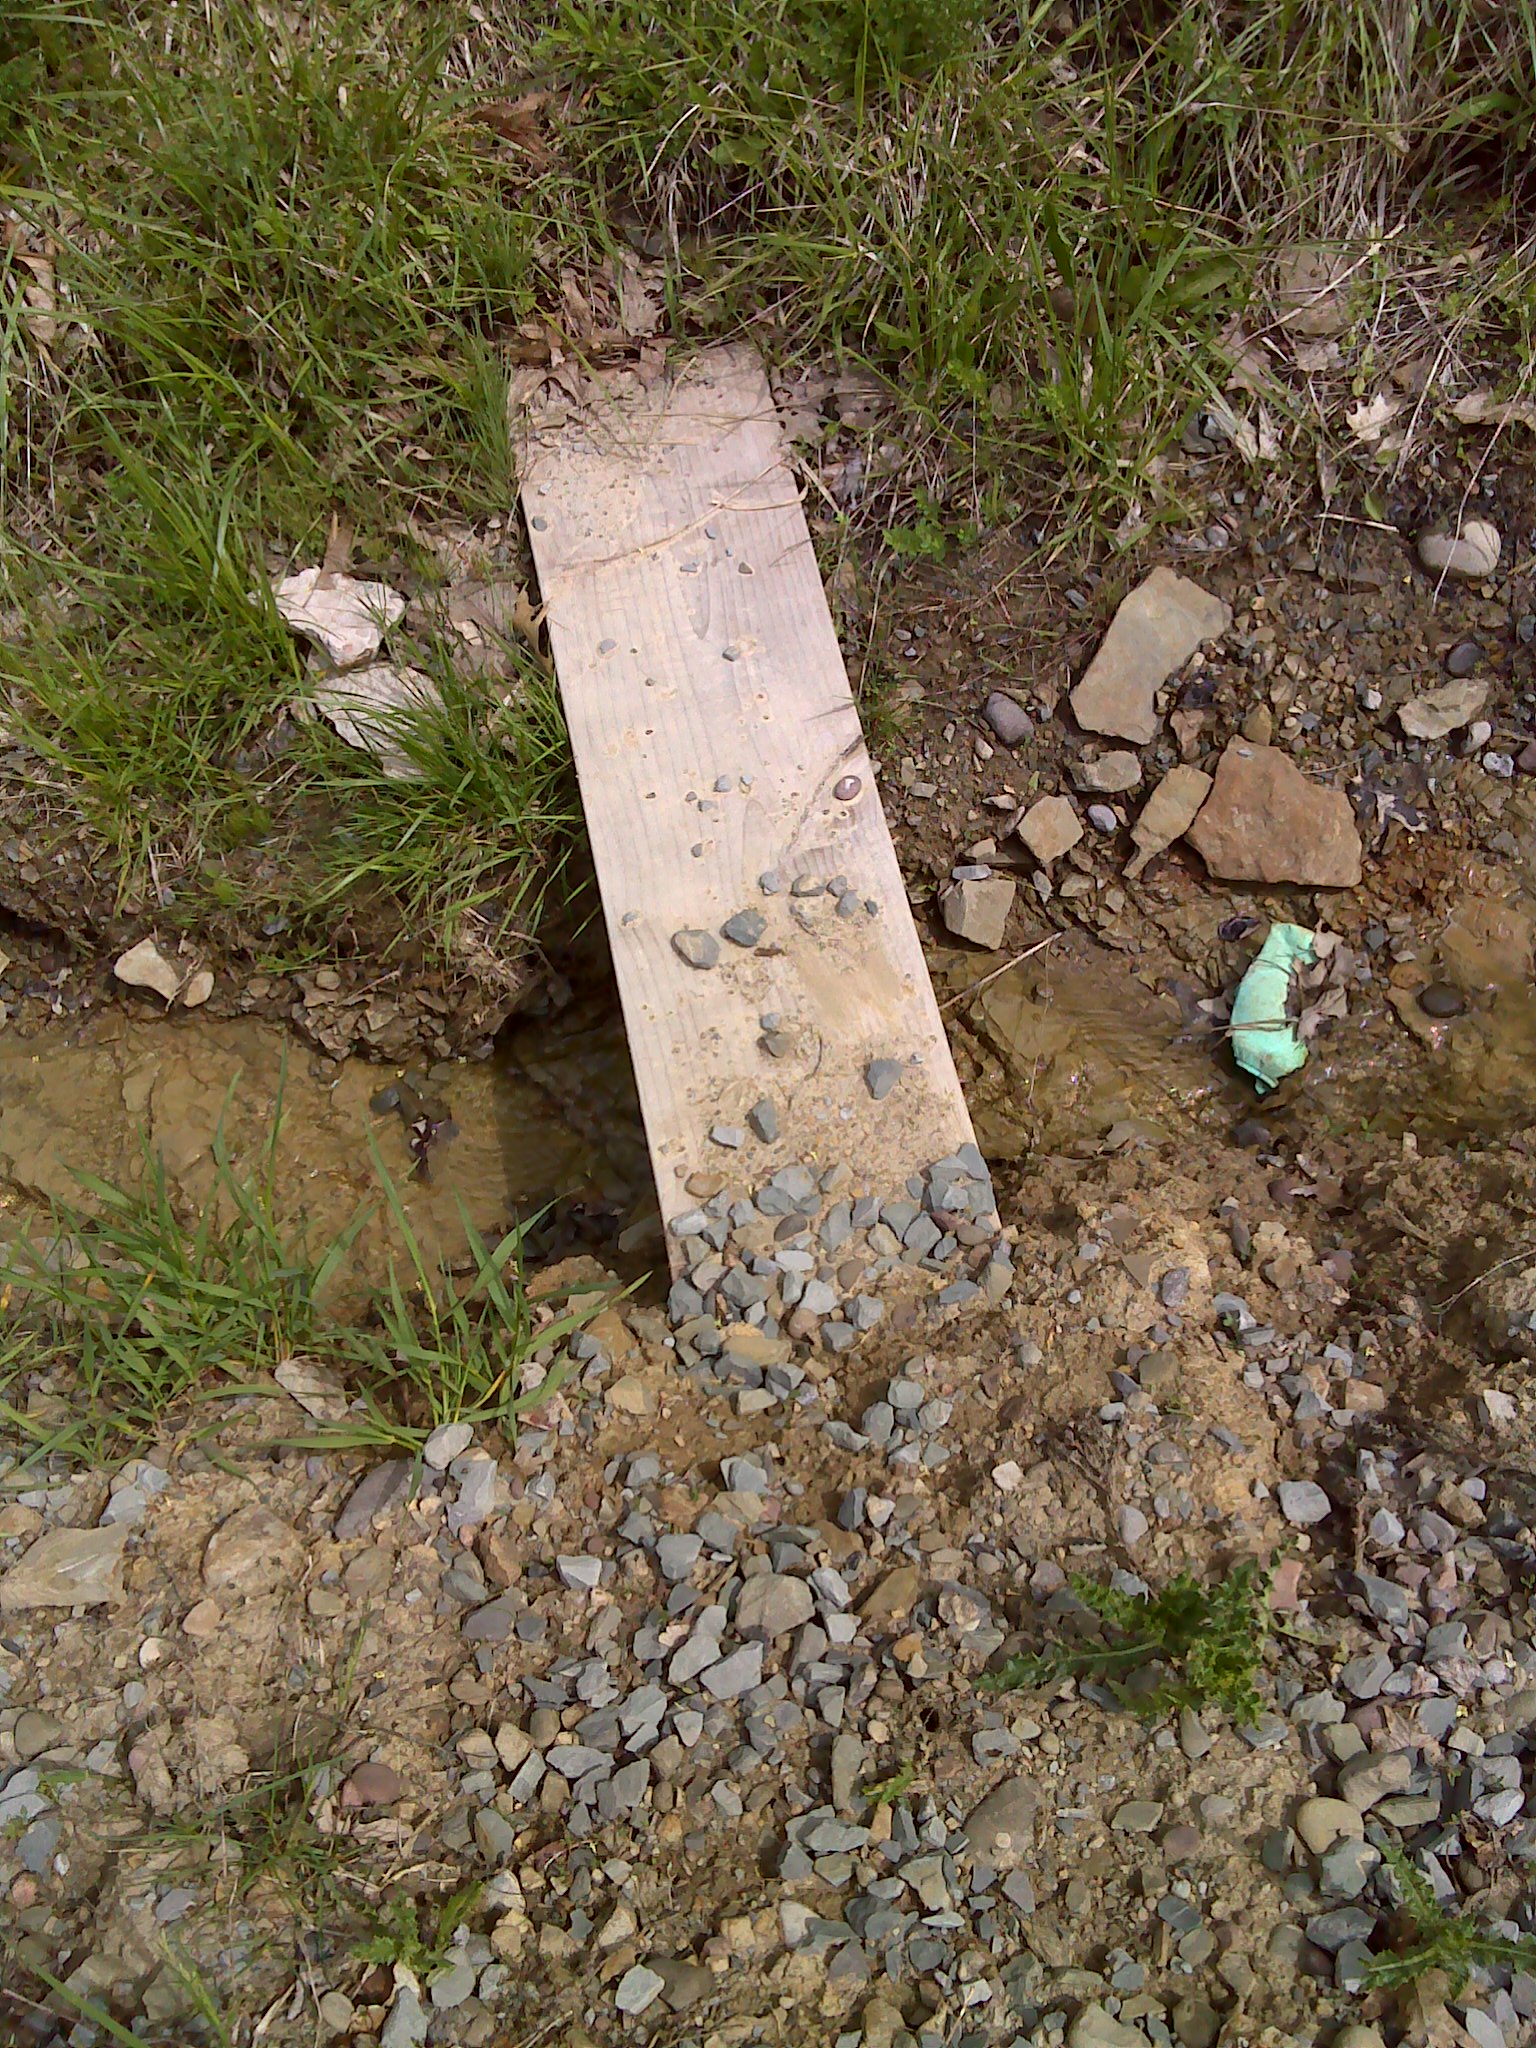
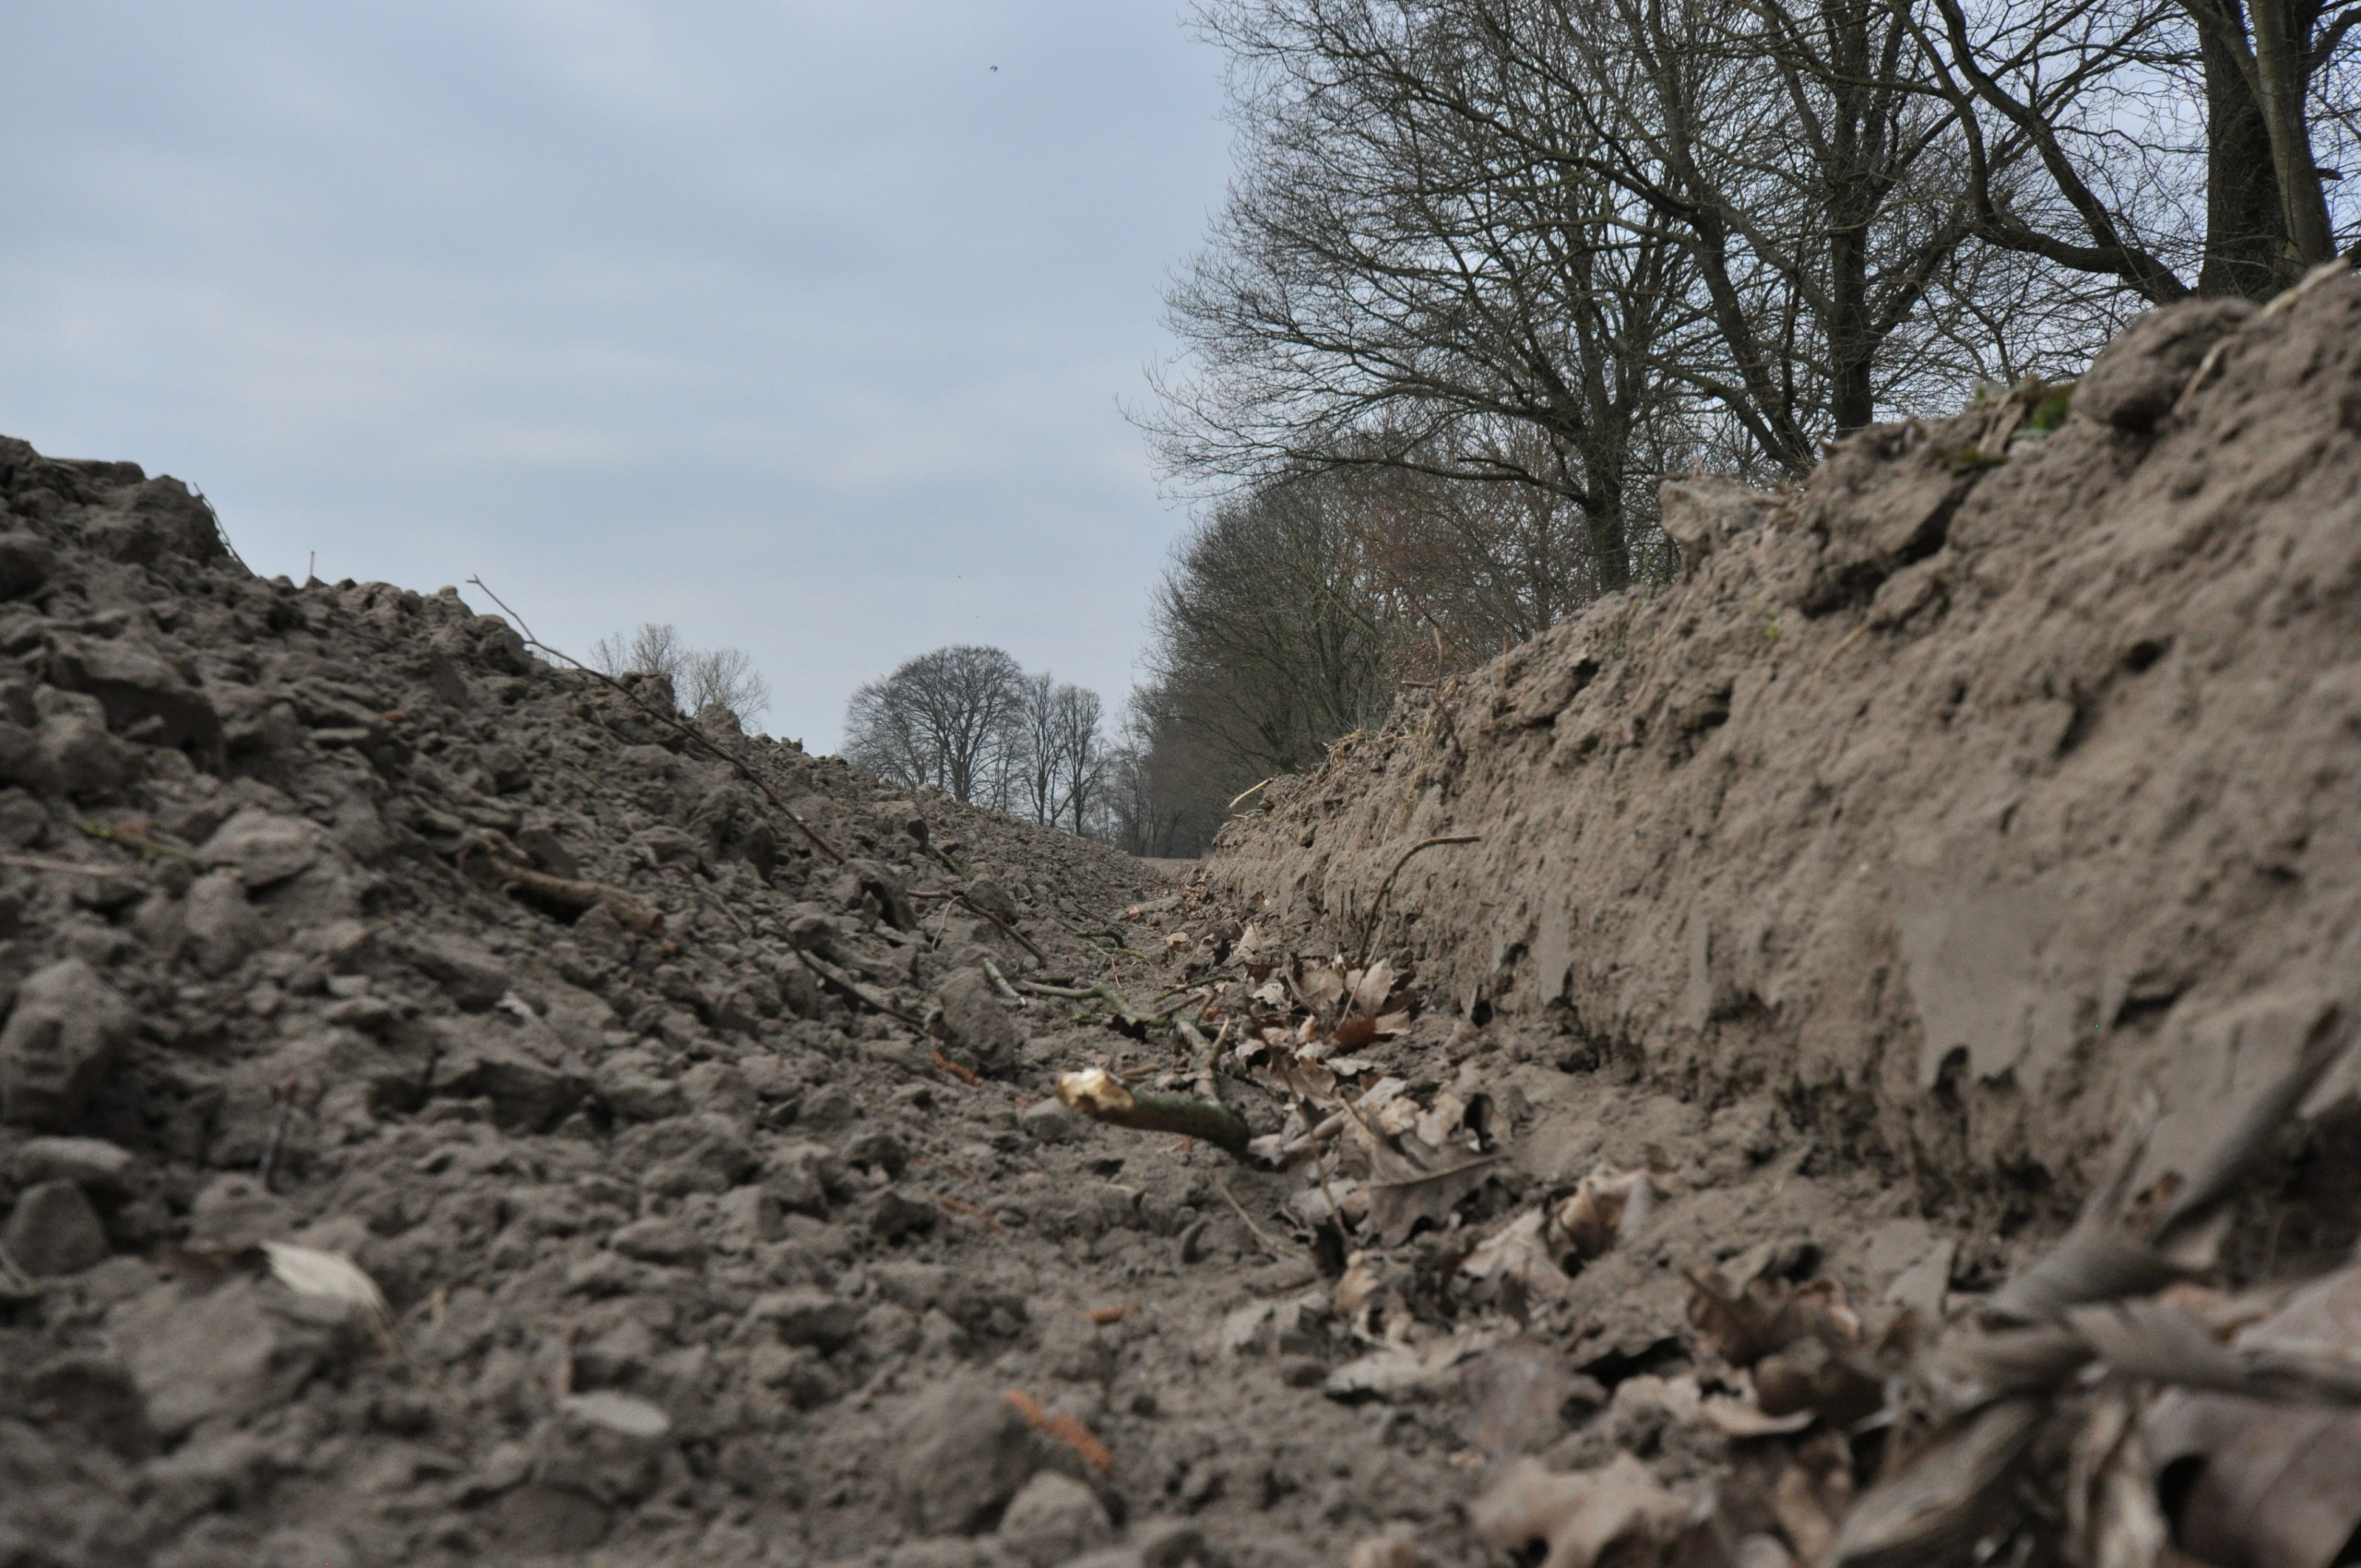
- Dig a Swale or Creek Bed
In the event that your lawn has a soggy spot and it can’t be resolved with downspout extension, try creating a drainage swale or artificial creek.
In general, you need to dig the soil into a shallow and long trench and then fill it with decorative or gravel rocks.
This will function as the slide (for the water runoff).
The extra perk of this method is that it can add the visual appeal of the yard, making your property look beautiful when not used.
- Create a Rain Garden
What if there is a specific spot collecting water in your property? What if your lawn doesn’t have enough slope? Well, create a rain garden then!
It is specifically designed to catch water (and rainfall).
The gardens have water-loving plants that will make it ideal for the setting. Go with ferns, ornamental mosses, and hostas.
Such a garden may not solve the drainage issue, but it’s definitely more appealing than a muddy hole and soaking grasses.
A completed garden should be able to drain water in 24 hours.
Good Plants for Drainage Ditches
If you read the previous sections, one element of how to make a drainage ditch look good is to plant a certain vegetation.
After all, if slopes are left bare and ‘empty’, it may lead to several issues, including erosion.
Not only plants (or ornamental ground covers) can improve the look of your ditch, but it can secure the soil and ward off the invasive weeds.
It’s a good thing that here are several options for these plants.
- Sun-Tolerant Types
If you are thinking about growing plants that are completely tolerant to the sun, then go with Blue Chip juniper.
The evergreen silver and blue needles can spread to 8 feet in width and reach 12 inches in height.
Another evergreen type is the Etain Violets. The flowers are beautiful with yellow and white petals, but having purple edges on them.
You can also consider Candytuft, which is an evergreen with (small) white flower clusters.
- Shade-Loving Types
Knowing what types of greens is also important in how to make a drainage ditch look good.
If your drainage ditches are within the shadows of buildings and trees, consider these types.
The Japanese Green Sheen spurge will produce a (dense) carpet if bright evergreen glossy leaves with tiny and white flowers.
There is also yellow Hermann’s Pride archangel with jagged green leaves (and silvery splotches) and yellow flowers.
- Drought-Tolerant Types
The upper area of the ditches should be higher than the bottom side to channel the water. The soil will drain quickly and it stays dry. You need to choose the right plants for such an area.
The compact Corallina Compacta coral barberry would be perfect for such setting. The thorny stems have (tiny) evergreen leaves. The buds are orange with yellowish orange flowers. Expect the blue-black silver frosted berries around fall.
Muhly grass can also be a good alternative. It will generate evergreen clumpy blades with pink feathery flowers.
- Moisture-Tolerant Types
On the contrary to the previous types, the following one is perfect for the bottom half of the ditch.
Being on the bottom will make the soil excessively wet. You want to go with plants that can tolerate a lot of moisture and water.
Bowles Golden sedge has bright yellow flowers. As long as it is exposed to the sun, it will remain growing. It only withers when the temperature is freezing.
Another one is the Japanese Ice Dance sedge. It will produce a dense evergreen cover and edges with cream hue.
How to Landscape Ditch
On the contrary to what people, it’s not difficult to landscape or decorate the ditch in your lawn.
There are ways on how to make a drainage ditch look good.
- Create a rock wall. If you think that your drainage ditch is somewhat less attractive, build a rock wall as a catchy feature to the landscape.
- Add rocks. We have talked about adding rocks, again and again. But really, adding rocks into your ditch can add the visual appeal to the highest level. Not only you can use the river rocks, you can also incorporate quartz or colorful rocks. But the latter one should be added as the decorative part, not the main part of the construction.
- Include commercial grates. Today’s grates have appealing design and attractive colors that will spark up your lawn
- Include paving materials. They may look simple but they can be handy to deal with water issue as well as improving the look of your yard.
Final Conclusion
Dealing with water pooling isn’t easy or fun, but you get to create a stylish and functional drainage ditch, provided that you know how.
There are plenty of ideas, examples, and inspirations on how to make a drainage ditch look good so you can make your own DIY projects.